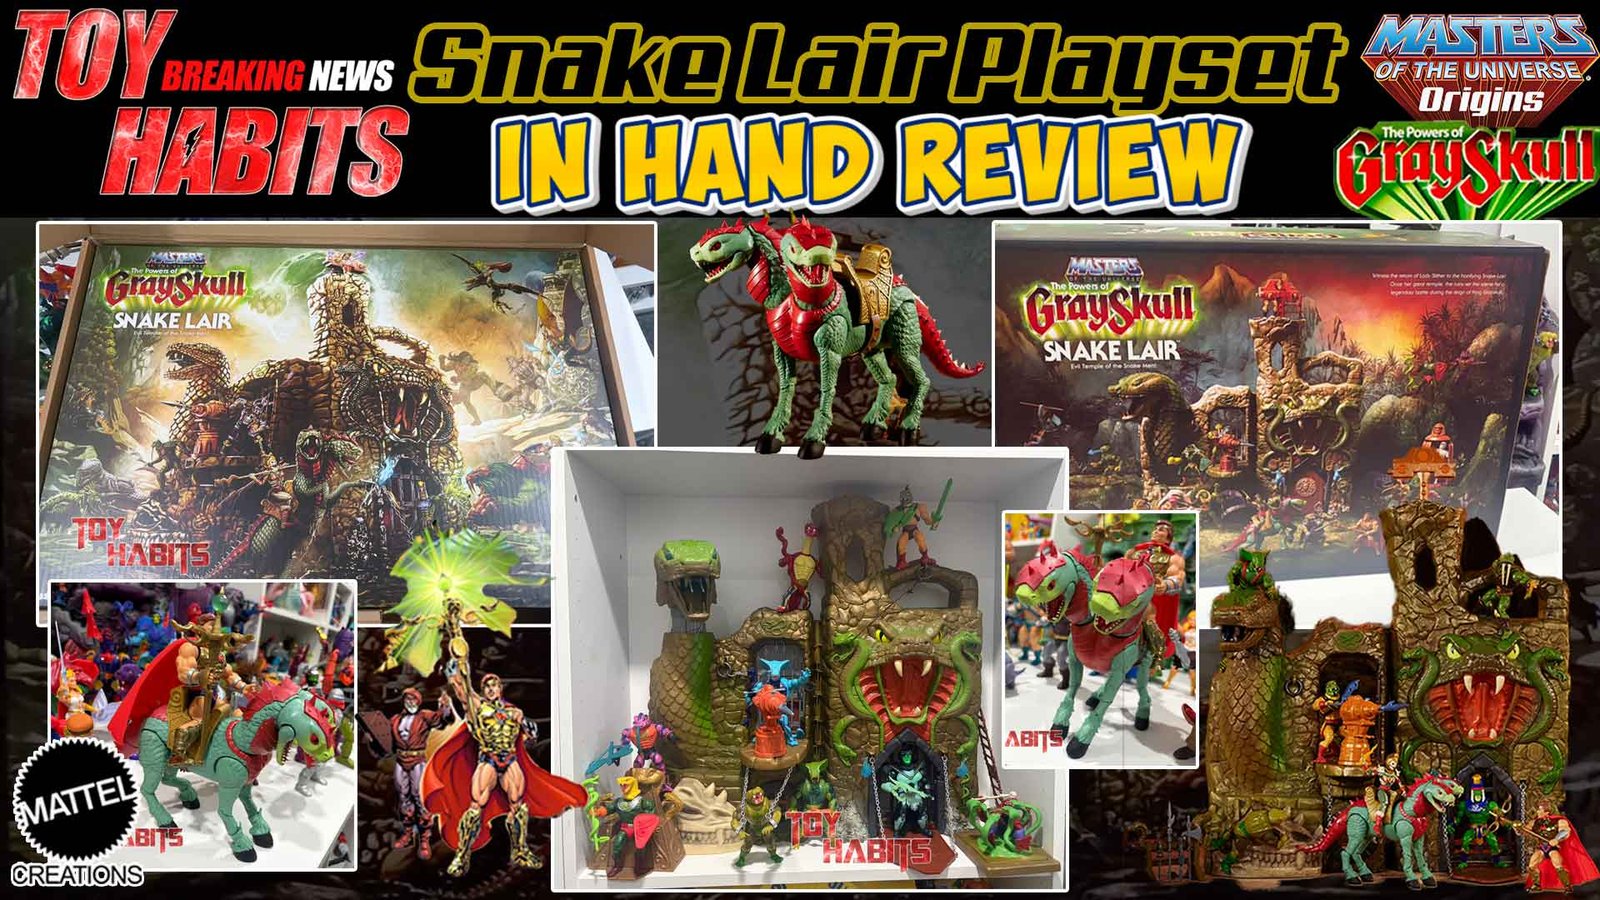
MOTU Origins Snake Lair Playset In Hand Review
By the Power of Grayskull! The wait is finally over, and we could not be more excited because the Mattel Creations Exclusive Masters of the Universe Origins Snake Lair Playset has arrived at Toy Habits HQ, via the Toy Sorceress’ Toy Room! We shared some early in hand images of the Snake Lair not too long ago, and now we’ve had the chance to really dig into this incredible playset and give it the full in hand review it deserves. This is a set that has never existed in toy form before, first appearing in Classics Mini Comic #5 and voted into reality by the MOTU community as Eternia’s Choice. Standing nearly 30 inches tall with four levels across two sections, this fortress for Lady Slither and the Snake Men is packed with features like a working drawbridge, telescoping snake head turret, elevator, zipline, capture devices, an iron maiden, and so much more. And of course it comes with Chimera, Lady Slither’s two-headed serpentine steed, which is just amazing. The fact that Mattel went all in on a playset that was only ever hinted at in Origins packaging and mini comics makes this one really special for the collector community. It sits right alongside Castle Grayskull and Snake Mountain, completing a trifecta of Origins playsets that honestly would have blown our minds as kids. I always loved the Snake Men faction, and seeing them finally get a proper home base is super exciting. So let’s take a look at our full in hand review of the MOTU Origins Snake Lair Playset!
Where to Buy
The Snake Lair Playset is no longer available for purchase since it was a crowdfund project, but you can try to find one on the aftermarket HERE!
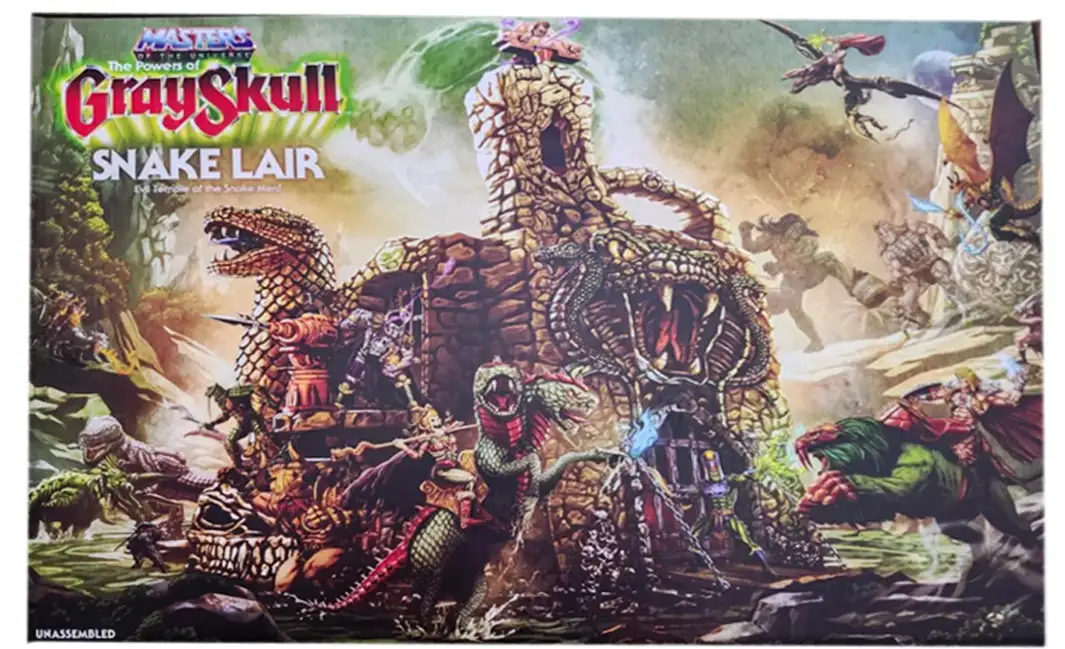
The very first thing I notice when I opened the shipper is the absolutely stunning box art and the incredible “Powers of Grayskull” branding! There are a ton of art teases which we took a quick look at but we will try to dive in deeper in the comes days. The Snake Lair box artwork truly pops with those warm golds and burnt oranges once you see it in person. The sheer size of this box is immediately impressive, filling the shipper almost completely, and you get a real sense of the playset’s ambition just from how much the illustration crams into a single scene.
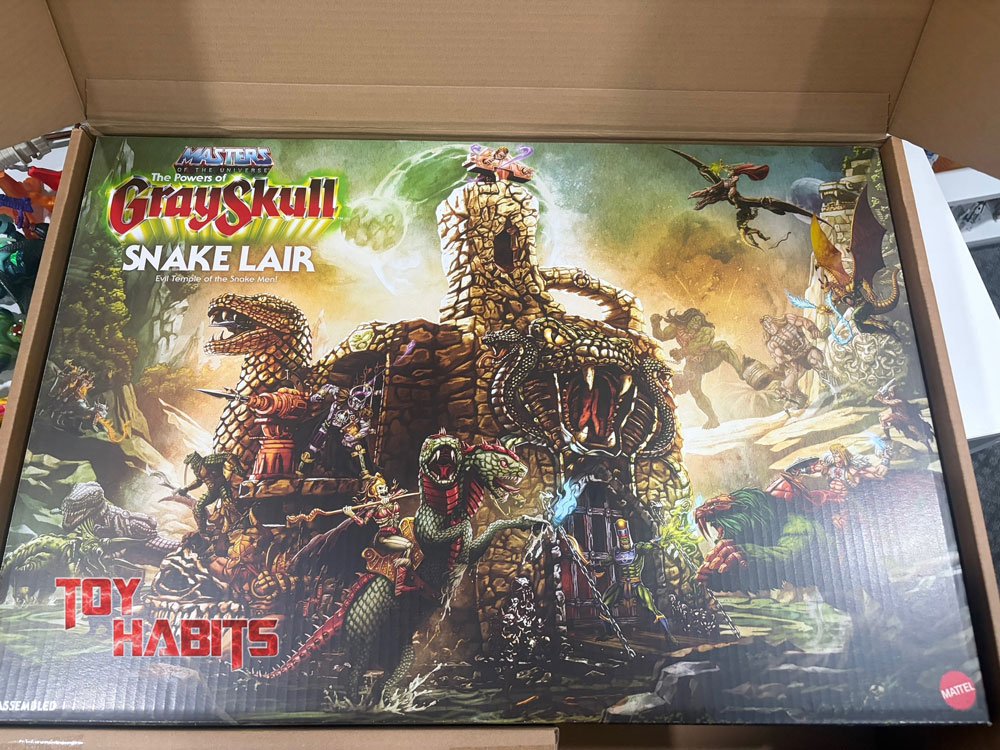
The box art for the Snake Lair is absolutely packed with detail, depicting the crumbling stone temple overrun with serpentine elements, from the massive snake coiling over the top of the structure to the fanged entrance at ground level. Figures from across the line are staged in a sprawling battle scene around the playset, and the fiery orange sky behind the rocky peaks sets a mood that really sells the scale and menace of this thing.
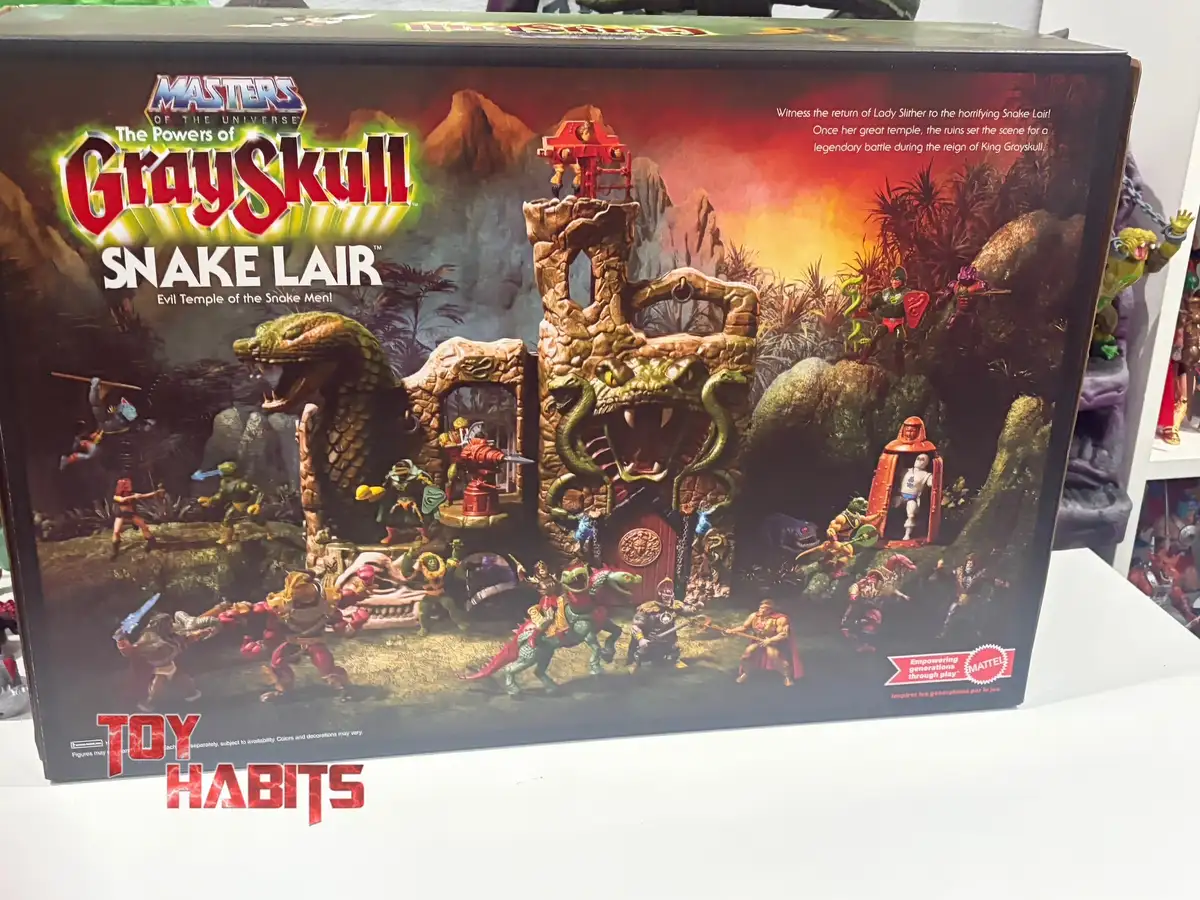
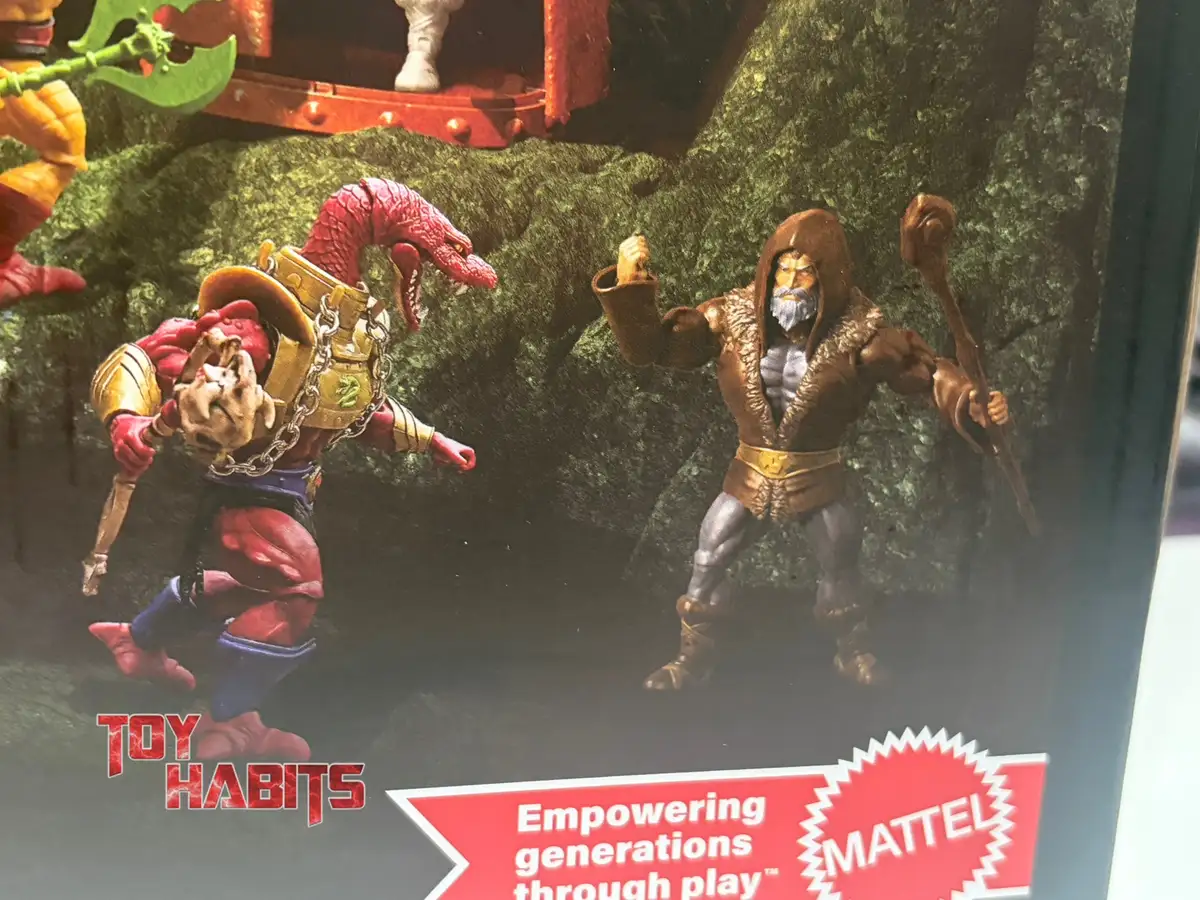
Eldor is featured on the back of the Snake Lair box, sporting his brown fur-trimmed outfit and carrying his staff. Mr. Home Arcade sent this one our way, and that Eldor sculpt has a great bearded head that has a wise look. Here’s a closer look at the packaging artwork along the bottom of the Snake Lair box, where you can see Vypor squares off against a hooded, staff-wielding Eldor in a mossy jungle clearing. I like how Rattlor’s massive gold shoulder harness and extending serpent neck are rendered with such exaggerated ferocity, while Eldor’s fur-trimmed cloak and weathered gray beard sell him as a grizzled mystic holding his ground.
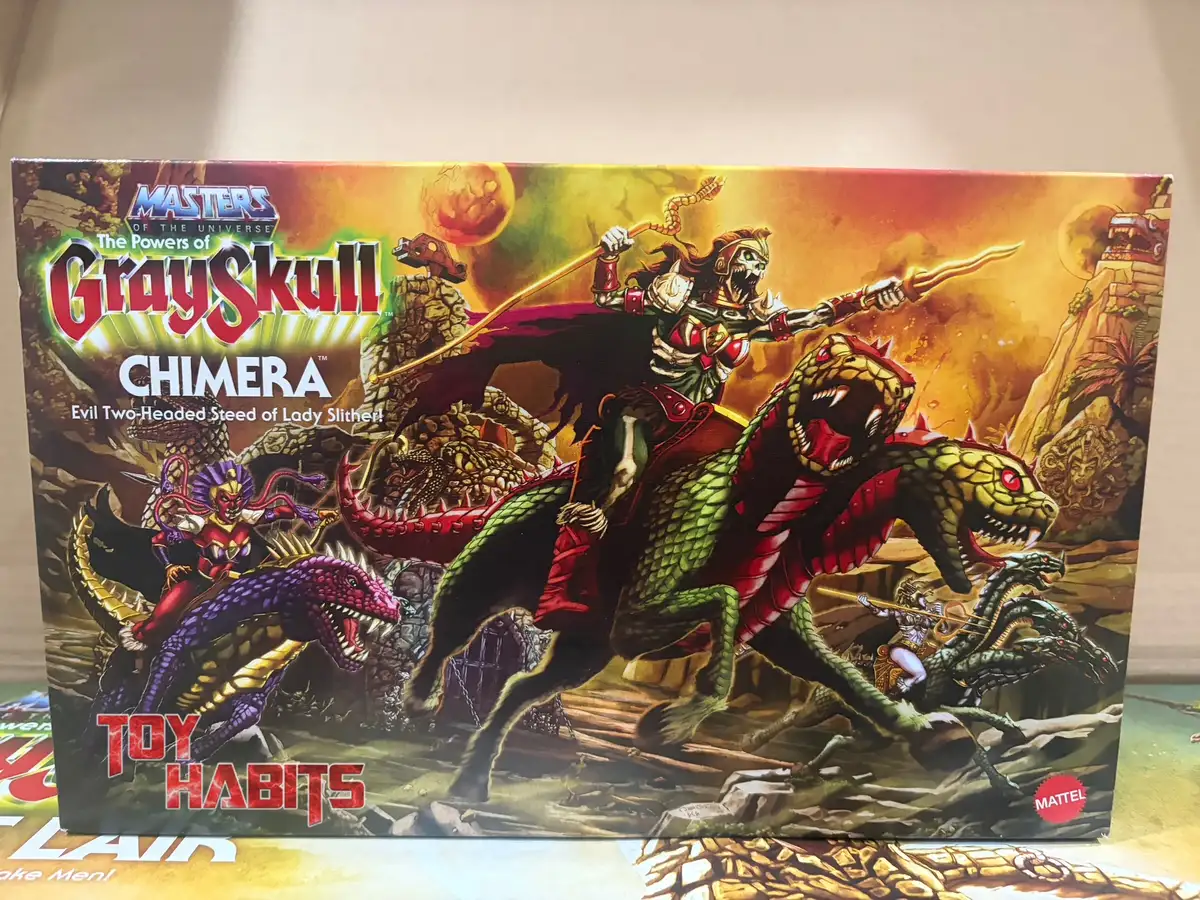
The Chimera box art features Lady Slither mounted atop her two-headed serpentine steed, both snake heads lunging forward with fangs bared and glowing red eyes, while the creature’s green and red scaled body tears through the ruins. I like how the composition fills the frame with additional Snake Men warriors flanking the beast, all set against the same scorched, war-torn Eternian landscape.
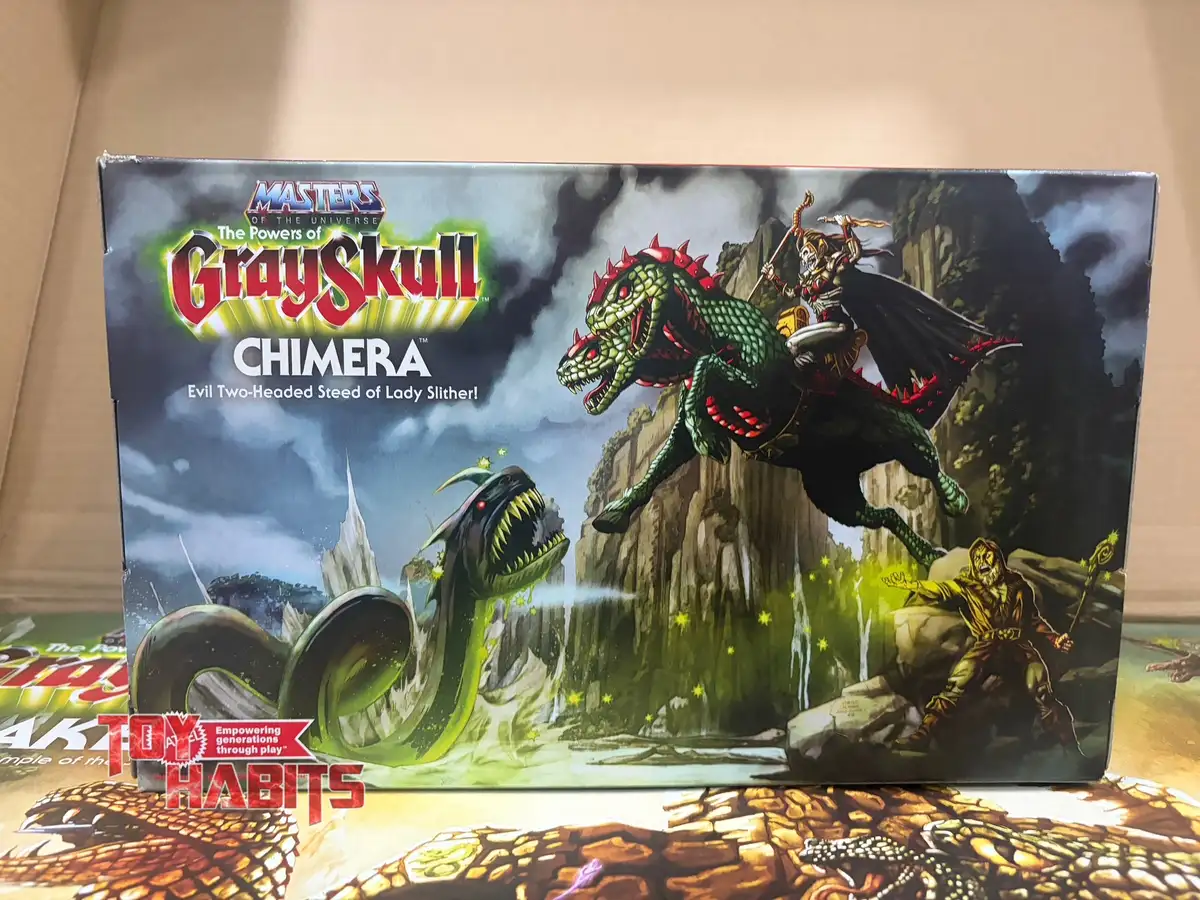
The Chimera box features a moodier, more focused composition than the Snake Lair packaging, with stormy gray skies and jagged cliff faces framing the beast as it charges through a toxic green mist. You can see how the artwork leans into the creature’s monstrous scale, with one serpent head lunging low at ground level while the other rears up high, selling the chaos of a two-headed steed in full attack.
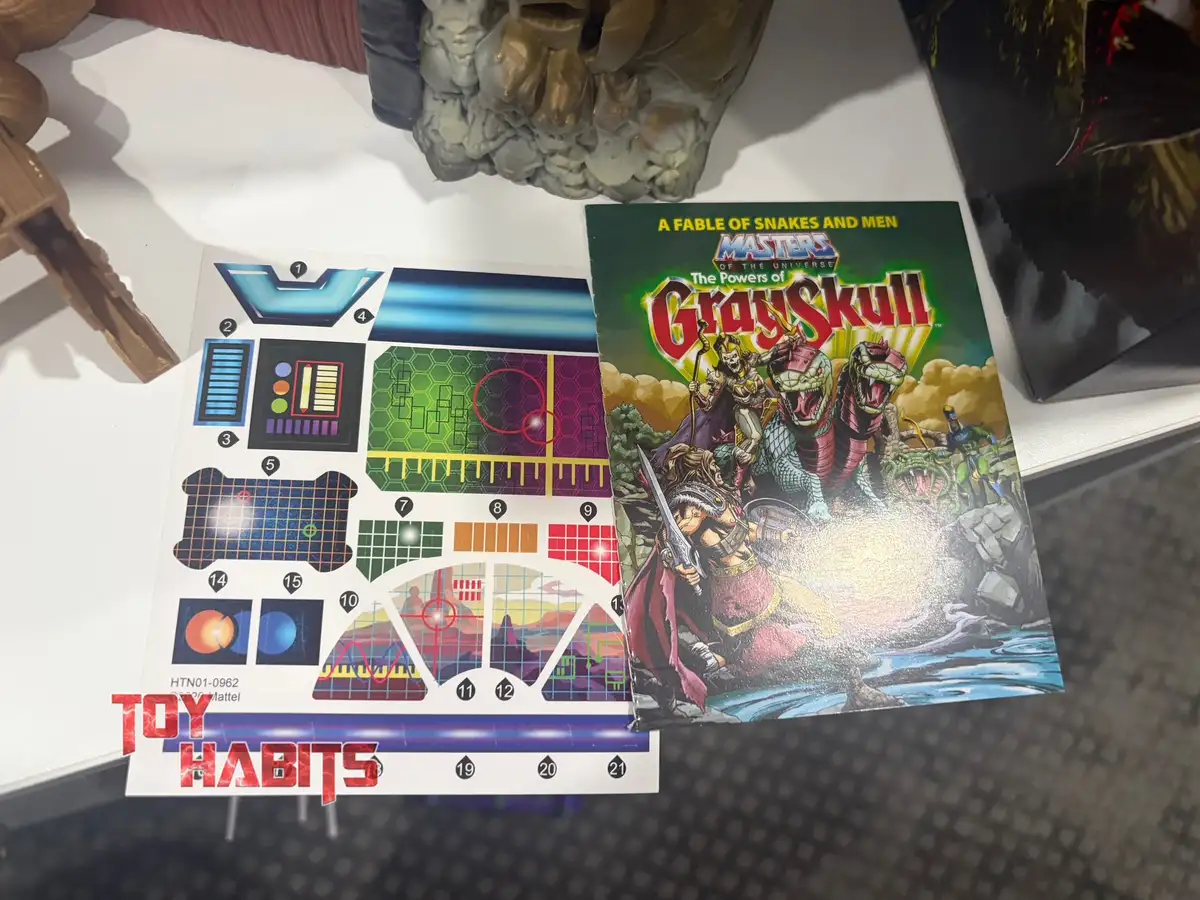
Here’s a closer look at the paper extras included with the Snake Lair, starting with the numbered sticker sheet packed with console screens, hexagonal scale patterns, glowing orbs, and targeting reticles in greens, oranges, purples, and blues. Alongside it is a mini comic titled “A Fable of Snakes and Men,” its cover showcasing a heavily armored King Grayskull clashing with Lady Slither and her Snake Men forces in vivid, classic comic style.
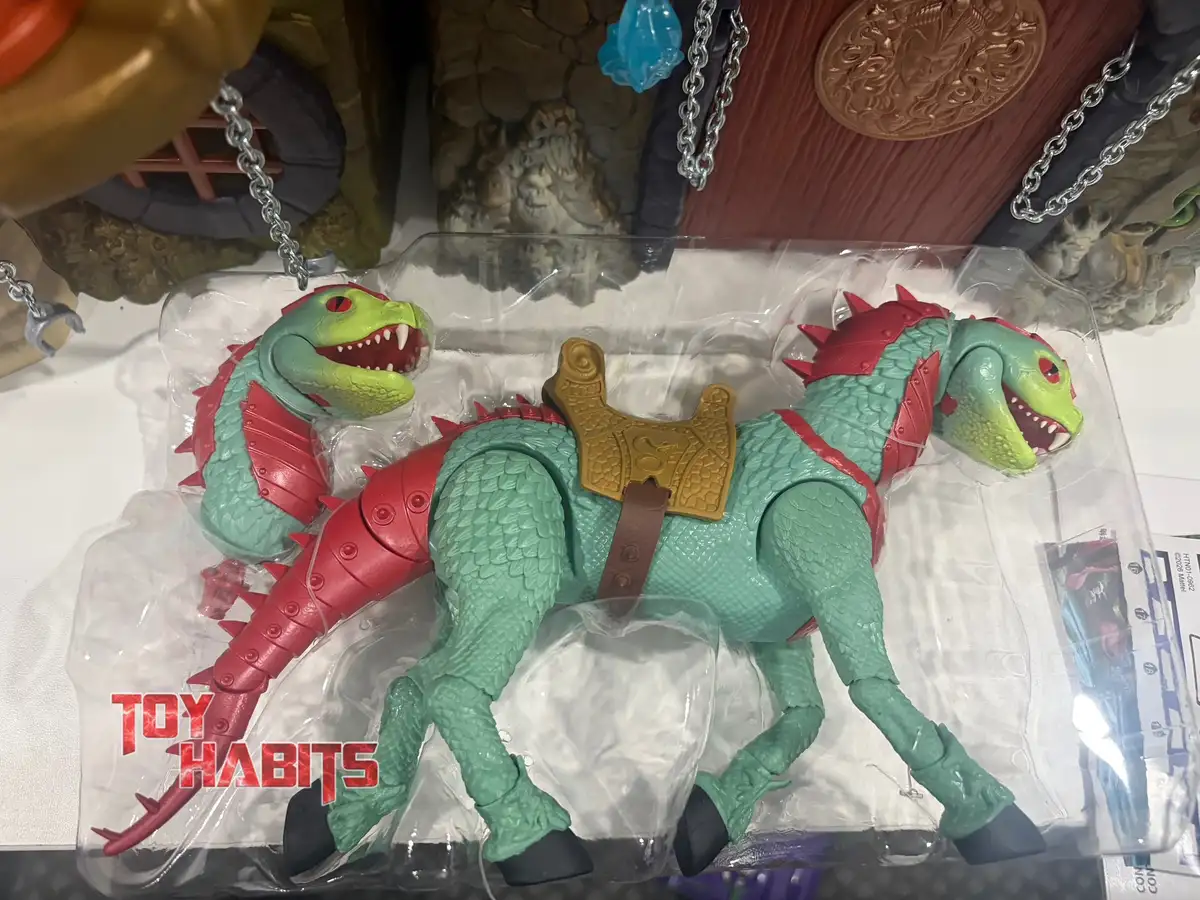
We can also see Chimera still nestled in the packaging tray, and the sculpted scale texture covering the body is really impressive, with individually defined overlapping scales running across the torso and both necks. The gold saddle features ornate scrollwork etched into its surface, and those red armor plates along the spine, belly, and tail add a great contrast against the sea-green hide, with pointed spikes running along the ridgeline of each segment.
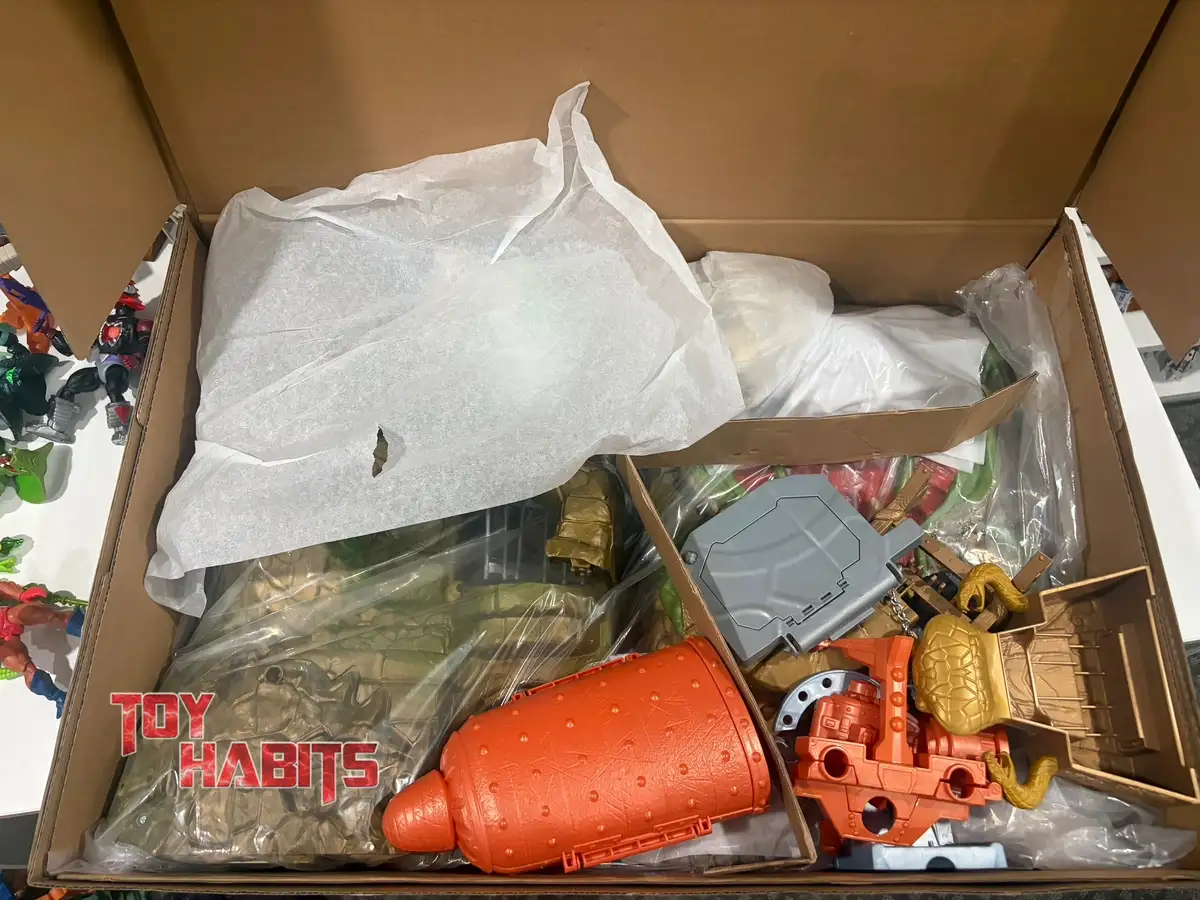
Once you crack open the stunningly beautiful box, you find plenty to unpack! You can see how the components are separated by cardboard dividers, with the larger sculpted pieces wrapped in tissue paper and plastic bags while smaller parts like the orange harpoon blaster, gold shell-shaped armor plates, and gray control panel sections sit loose in their own compartment.
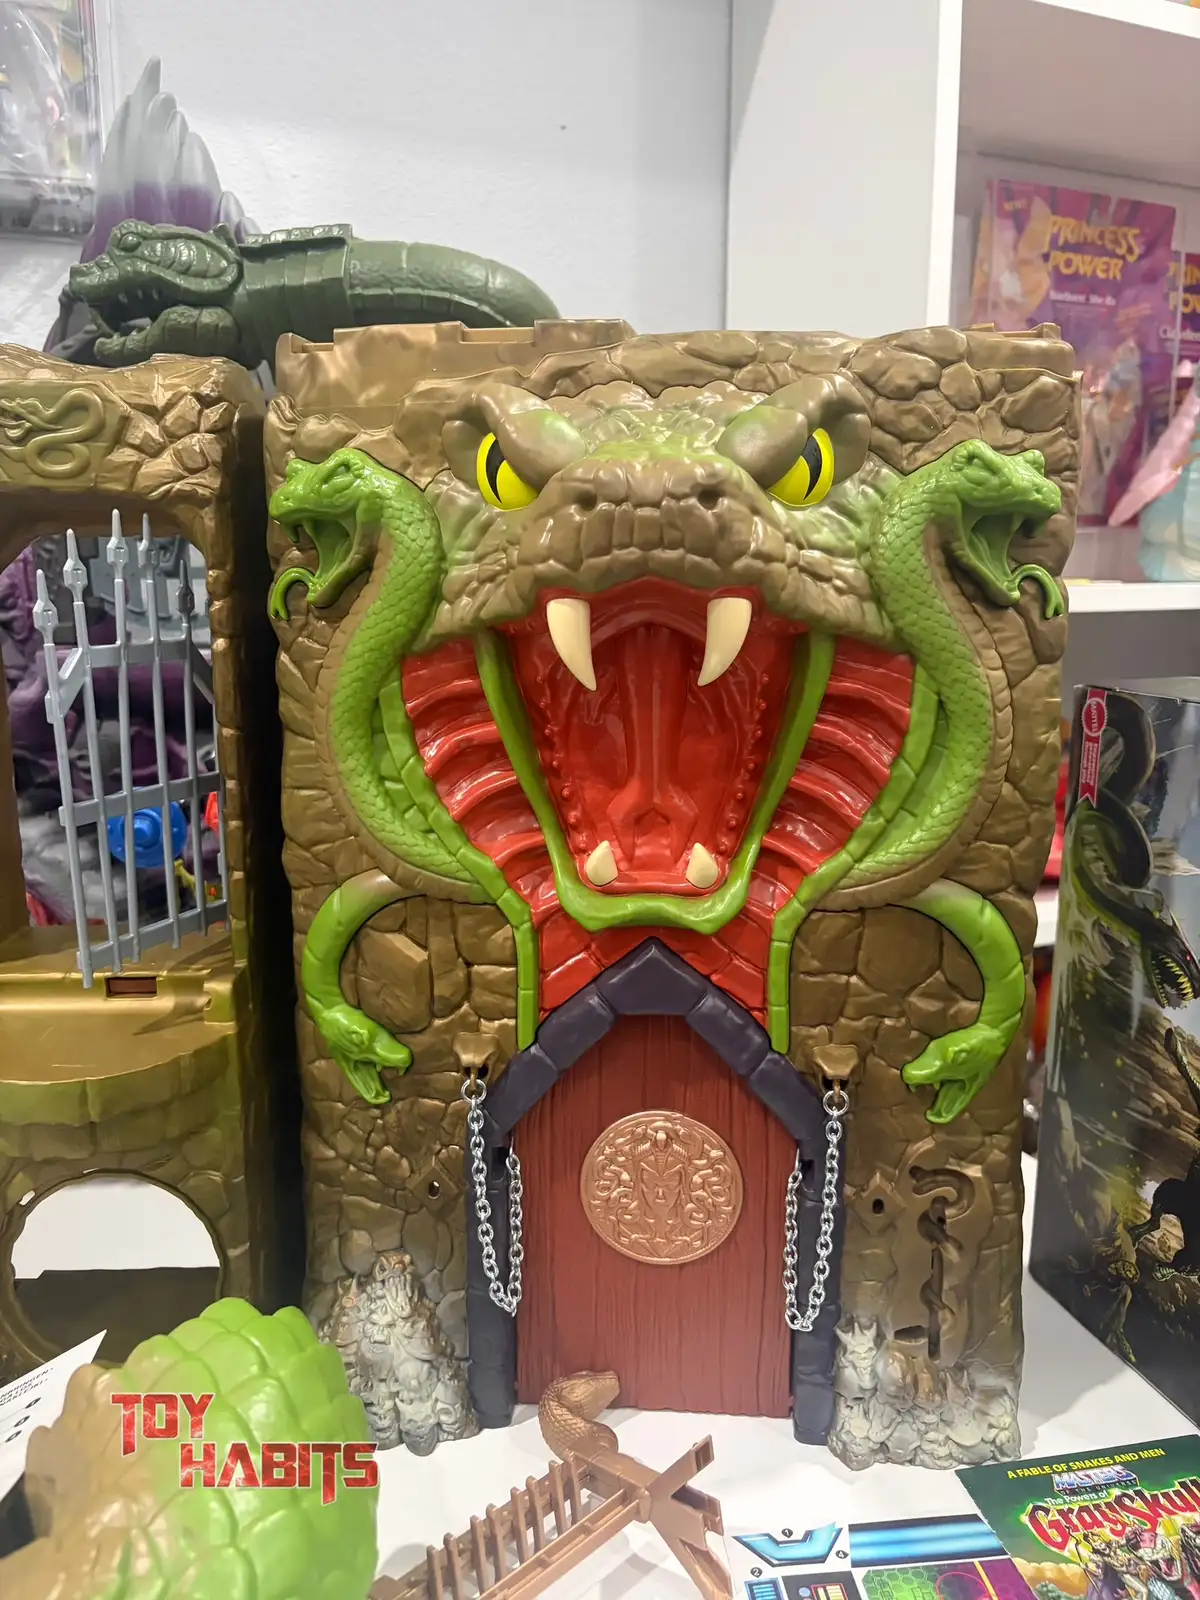
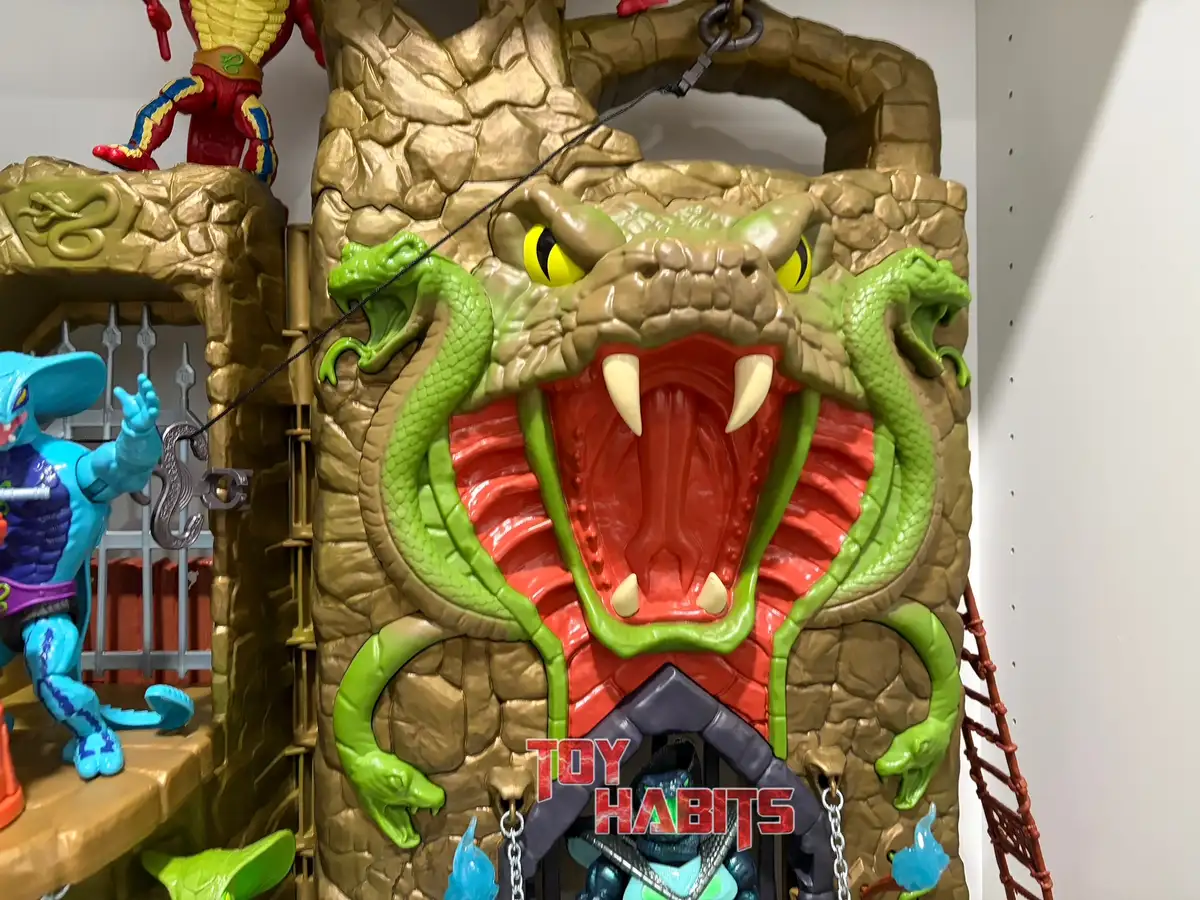
When you take the Snake Lair out of the box, you see this incredible design of the front facade! The massive serpent head is dominating the upper half is just spectacular, with piercing yellow eyes, deep wrinkled brow ridges, and four ivory fangs framing a glossy red open mouth that serves as the entrance archway. The wooden door below features a copper medallion with a serpent crest, flanked by small metal chains, while coiling green snakes weave through the craggy brown stonework on either side, and a silver spiked portcullis gate sits tucked into the left wing.
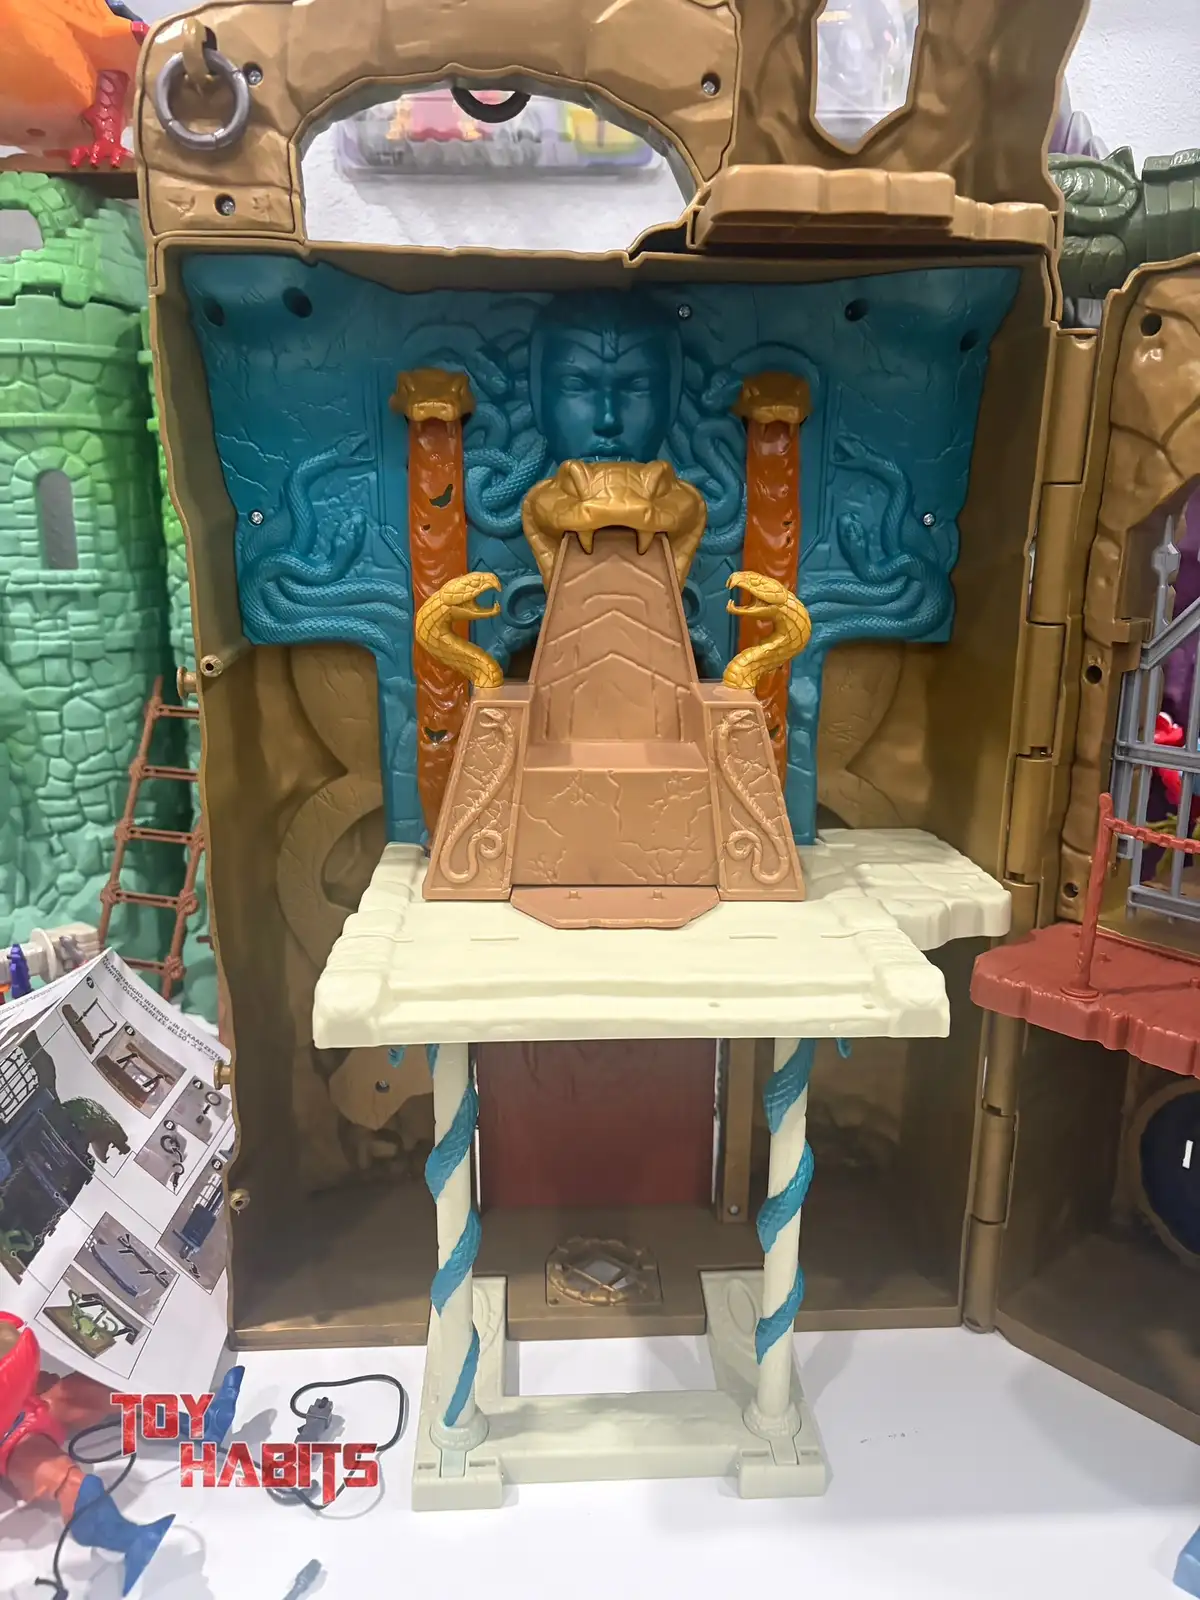
Now let’s take a look at the interior of the playset. We can see the Snake Lair’s interior throne room, and the teal back wall features a stunning sculpted Medusa-like face with serpents radiating outward, flanked by a pair of amber snake-wrapped columns. The throne itself is a tiered stone pyramid shape with golden serpent armrests curling up on each side and a horned skull crest at the top, while the platform below is supported by twisted teal and ivory spiral columns that tie the whole serpentine aesthetic together.
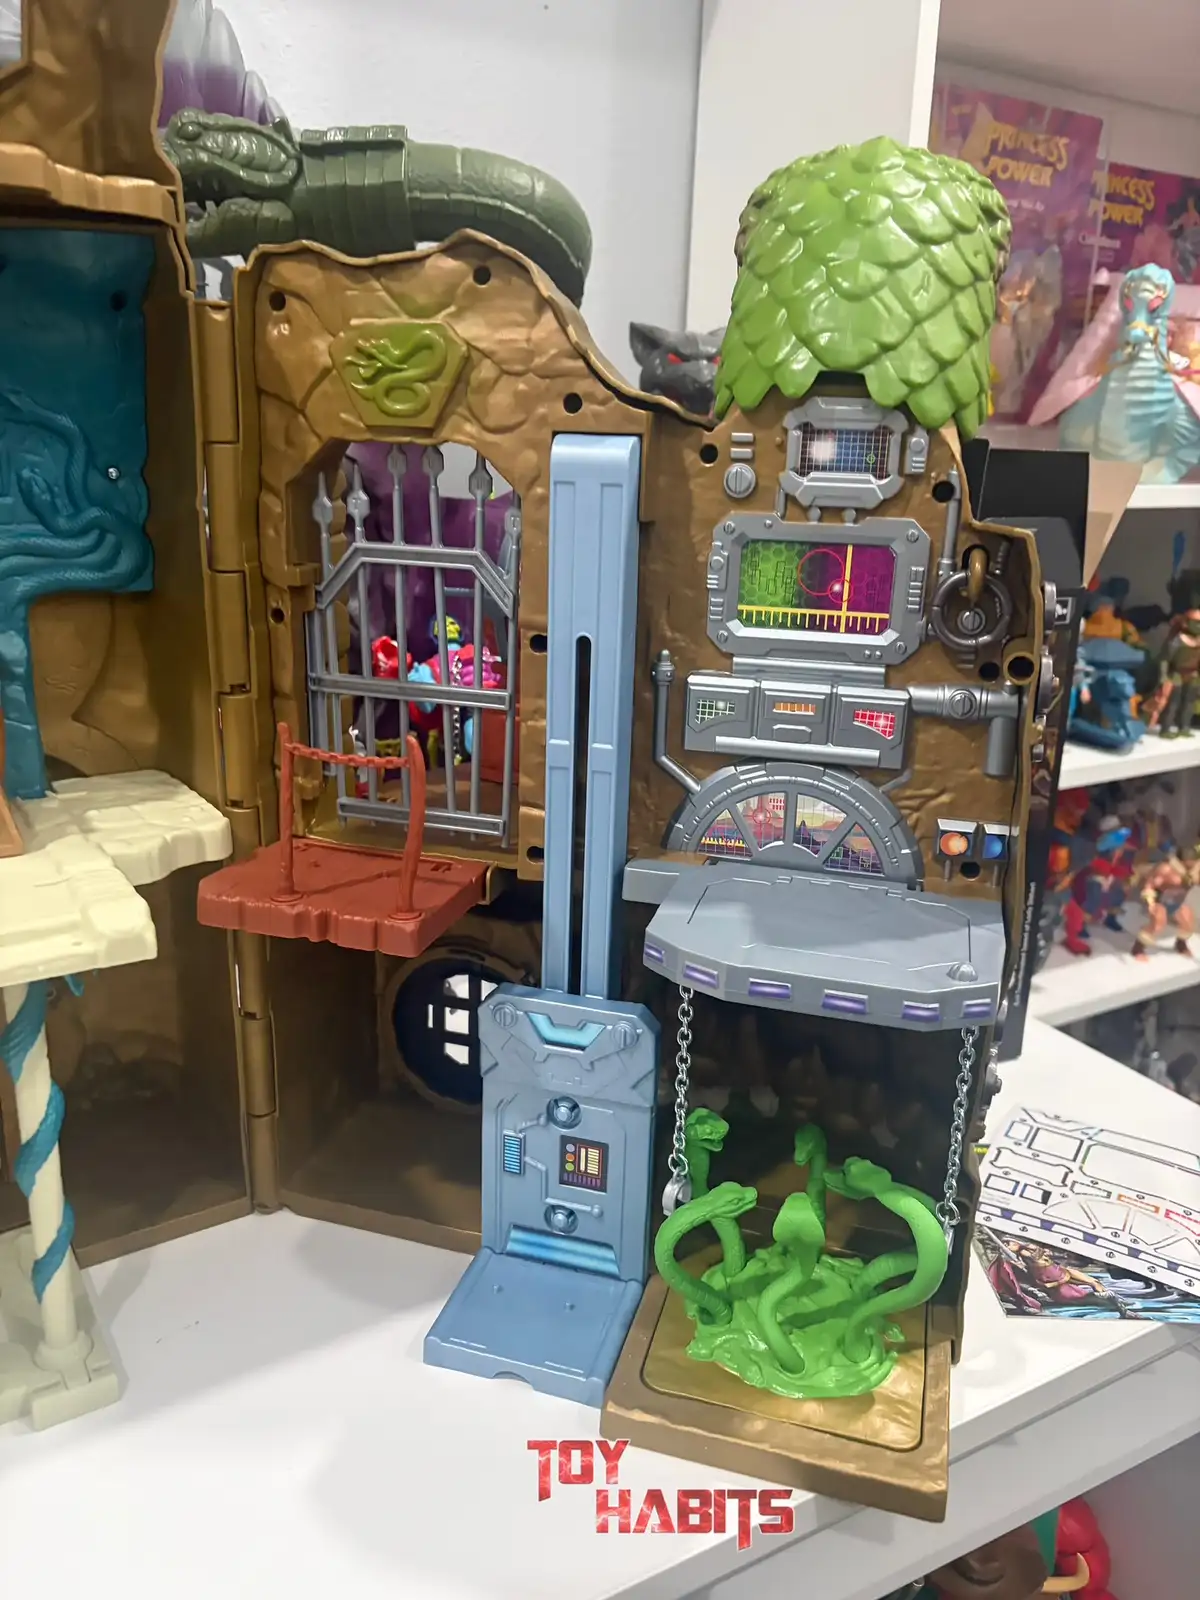
You can see how the Snake Lair’s evil side is loaded with interactive features, from the silver portcullis gate and the red trapdoor platform above the dungeon level to the working elevator tower with its sculpted control panel and functional metal chains. The green snake pit piece at the base is wonderfully grotesque, a tangle of writhing serpentine tendrils spilling out beneath the chained drawbridge, and I noticed that some figures are already stashed behind the bars of that upper cage, adding a fun sense of scale to the whole structure.
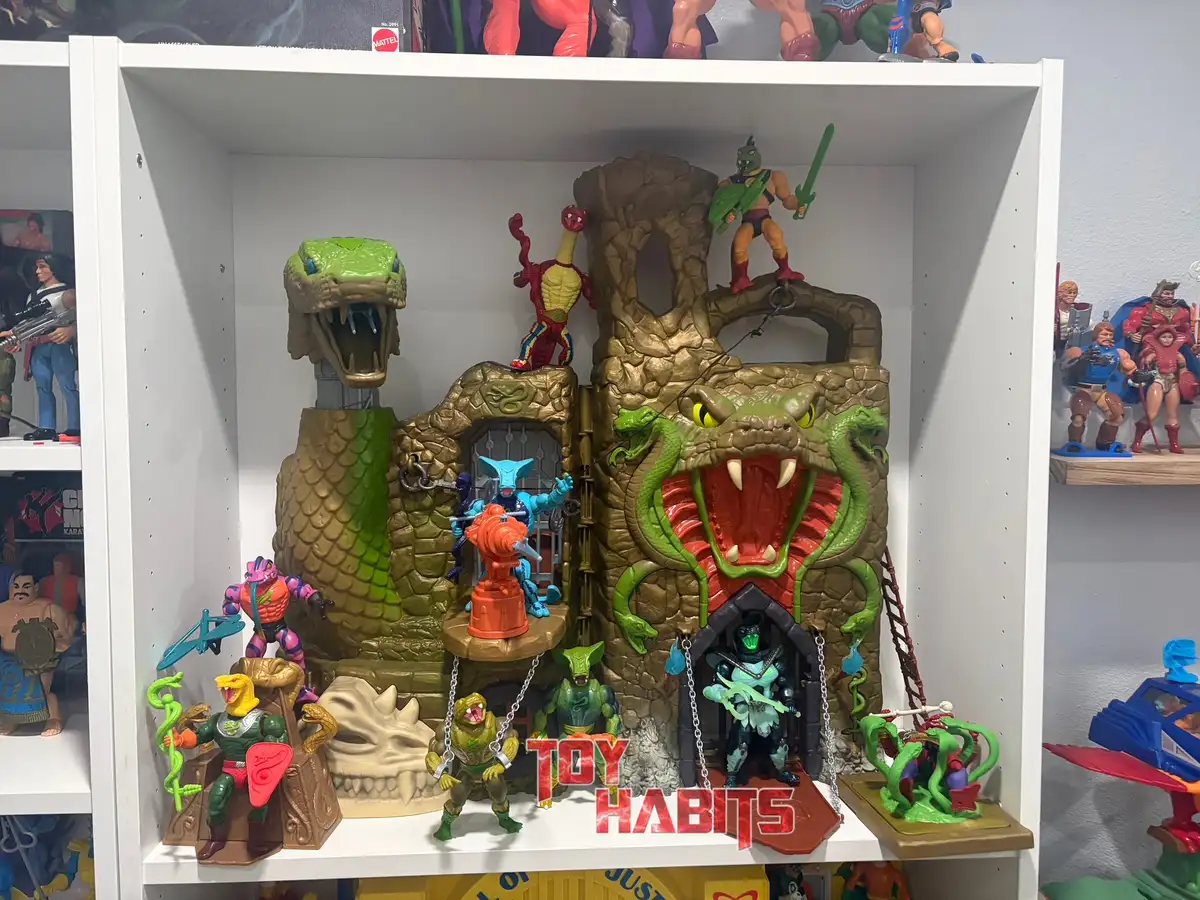
I like how this shelf display really shows off the Snake Lair’s commanding presence once it’s fully assembled and populated with Snake Men figures, with Chimera tucked in at the lower left and what appears to be Mer-Man and other warriors stationed throughout the levels. The telescoping snake head turret on the left tower, the harpoon blaster perched on the upper battlements, and the zipline rope dangling from the right side all come together to make this feel like a living, functioning fortress that fills every inch of its display space.
I’m really digging the sheer scale of that central serpent head facade up close, where the deep-set brow ridges and flared nostrils give the sculpt a genuinely menacing personality that photographs alone don’t fully convey. The two flanking green snakes coil organically through the rough-hewn stone texture, their open jaws and individually sculpted scales adding layers of detail that reward you the longer you look at this thing.
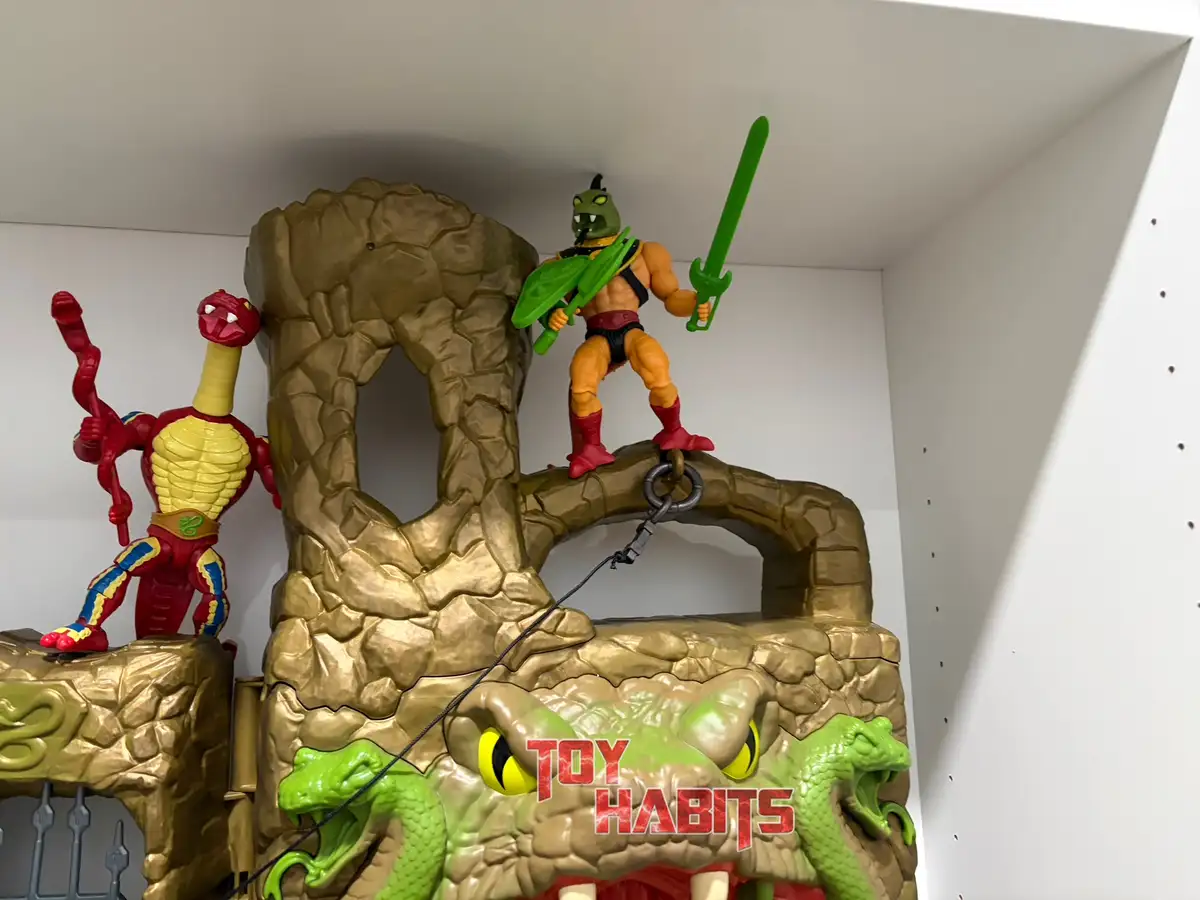
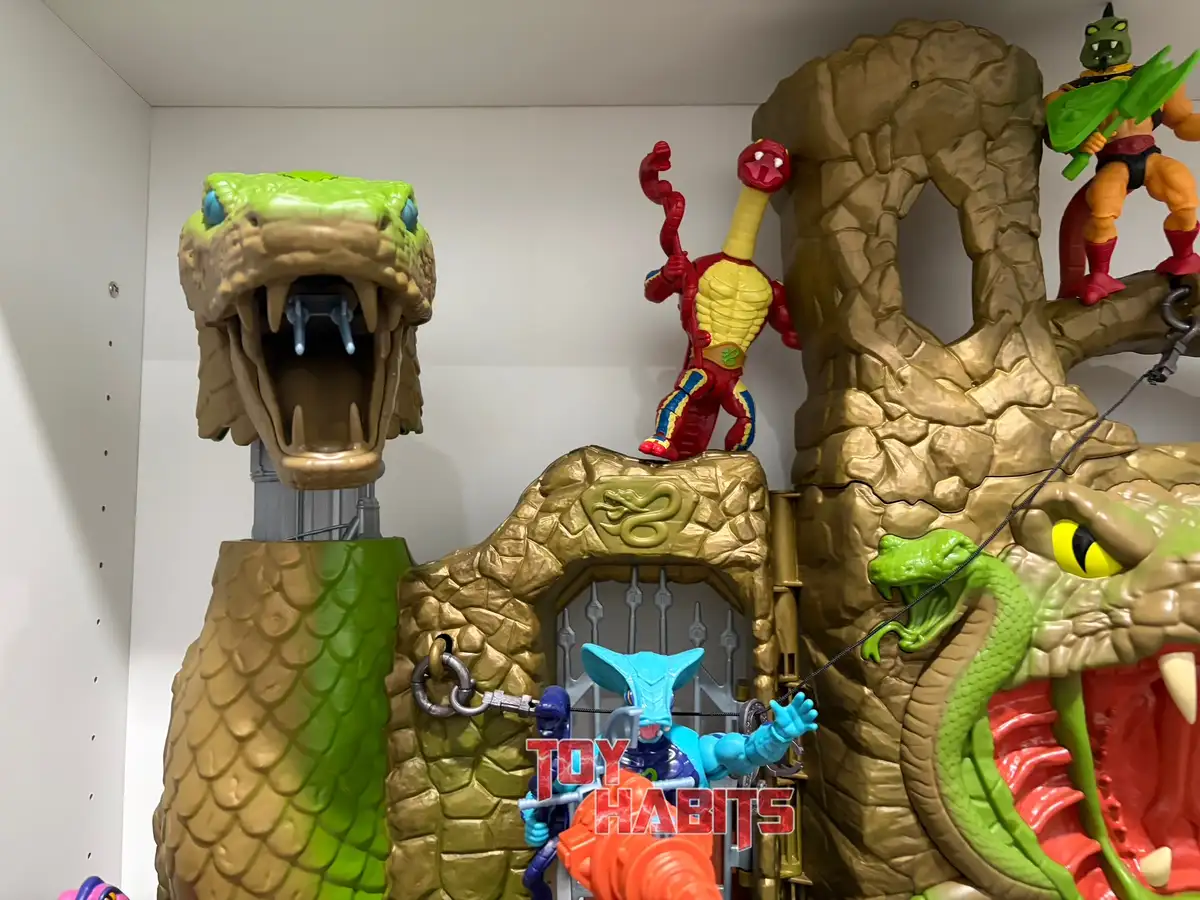
Sporting his green reptilian head with his shield and sword, Reptilax perches atop the Snake Lair’s arched stone bridge, with Rattlor stationed on the opposing tower to the left. I like how the craggy, rough-hewn stone texture of the archway and towers provides such a natural-looking environment for figures to inhabit, and that small metal ring with its dangling chain on the bridge adds a functional little detail you might miss at first glance.
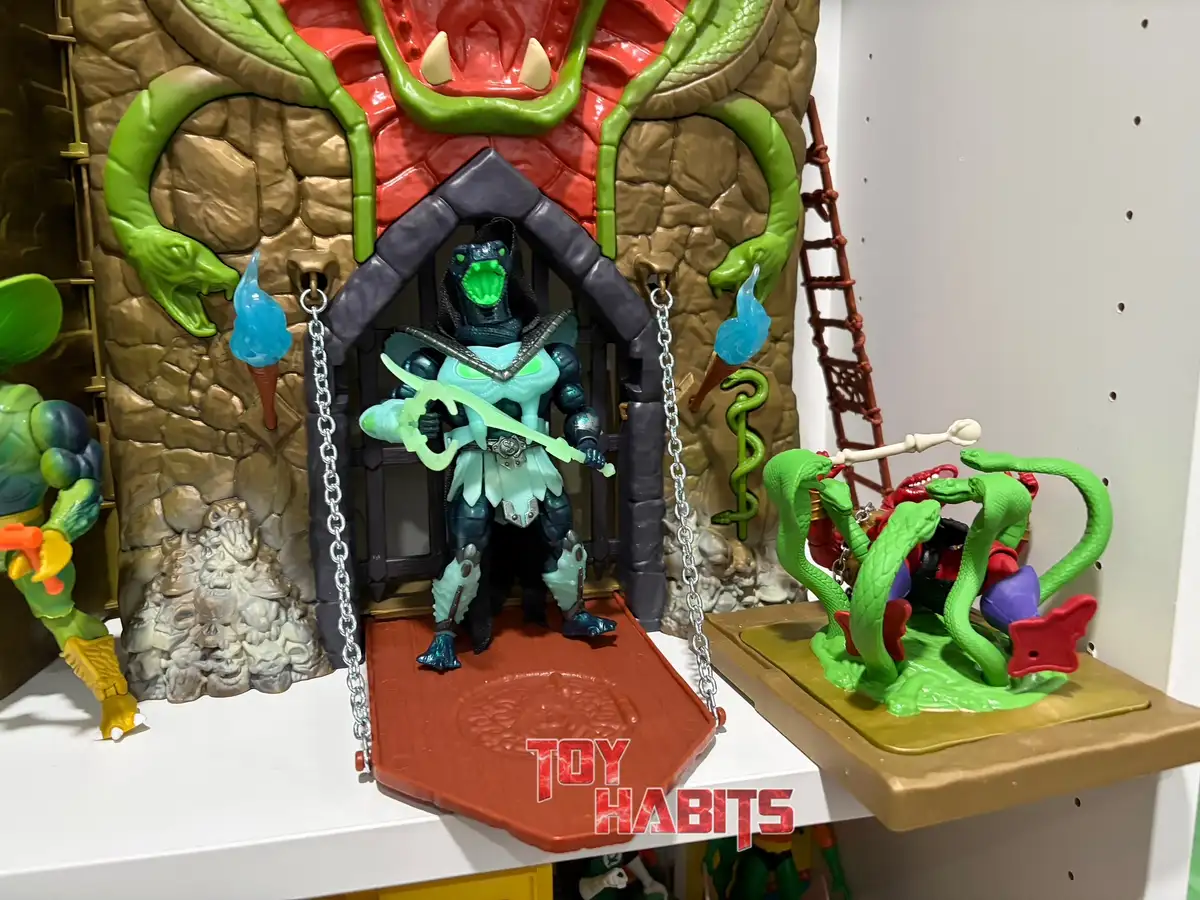
Necro Conda looks right at home positioned on the Snake Lair’s chained drawbridge platform, his translucent green glow-in-the-dark body and matching Scythe of Doom popping against the dark stone archway framing him. Off to the right, a tangle of bright green serpents coils around Vypor who was captured in the tangled snake pit, as a writhing mass.
It’s cool to see the Snake Lair populated on a shelf like this, with Rattlor perched on the upper stone archway. You will notice the two laser cannons inside the snakes mouth! The snake head telescopes up and the mouth is articulated! The zipline rope stretching from the right tower down past the second serpent head, whose bright yellow eye and green scales distinguish it from the main facade’s larger fanged entrance, gives the whole fortress a sense of interconnected verticality that makes it feel truly massive once you step back and take it all in.
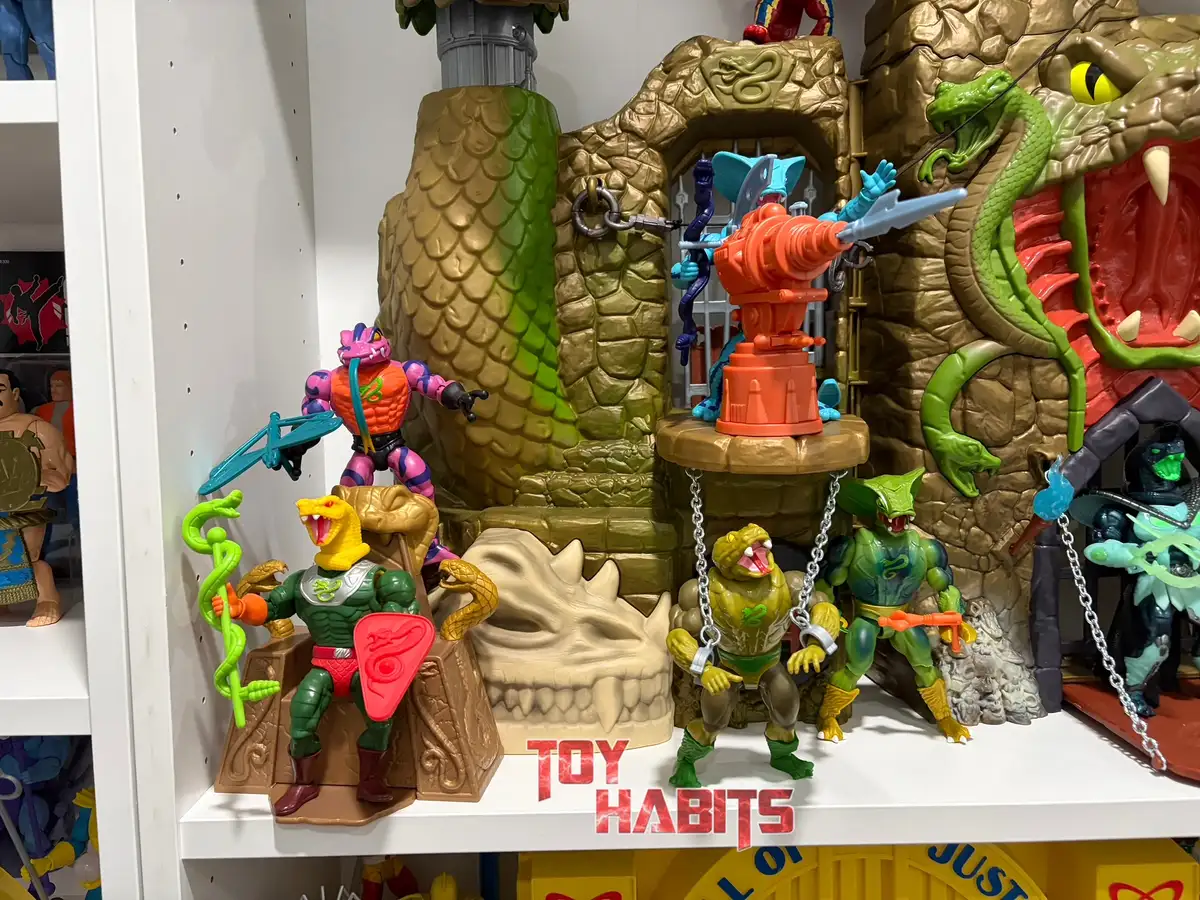
Here’s a look at the Snake Lair fully loaded with Snake Men figures defending every level, and I like how King Hiss sits atop the stone throne pedestal at the left with his green snake staff and red shield while Tung Lashor and a captured Snake Man in chains at the lower ground near the remains of Battle Bones. Camo Khan stands near by. The orange harpoon blaster mounted on the upper battlement platform looks great surrounded by all that craggy stonework, and the metal chains dangling from the drawbridge mechanism add a satisfying sense of weight and mechanical function to the whole fortress.
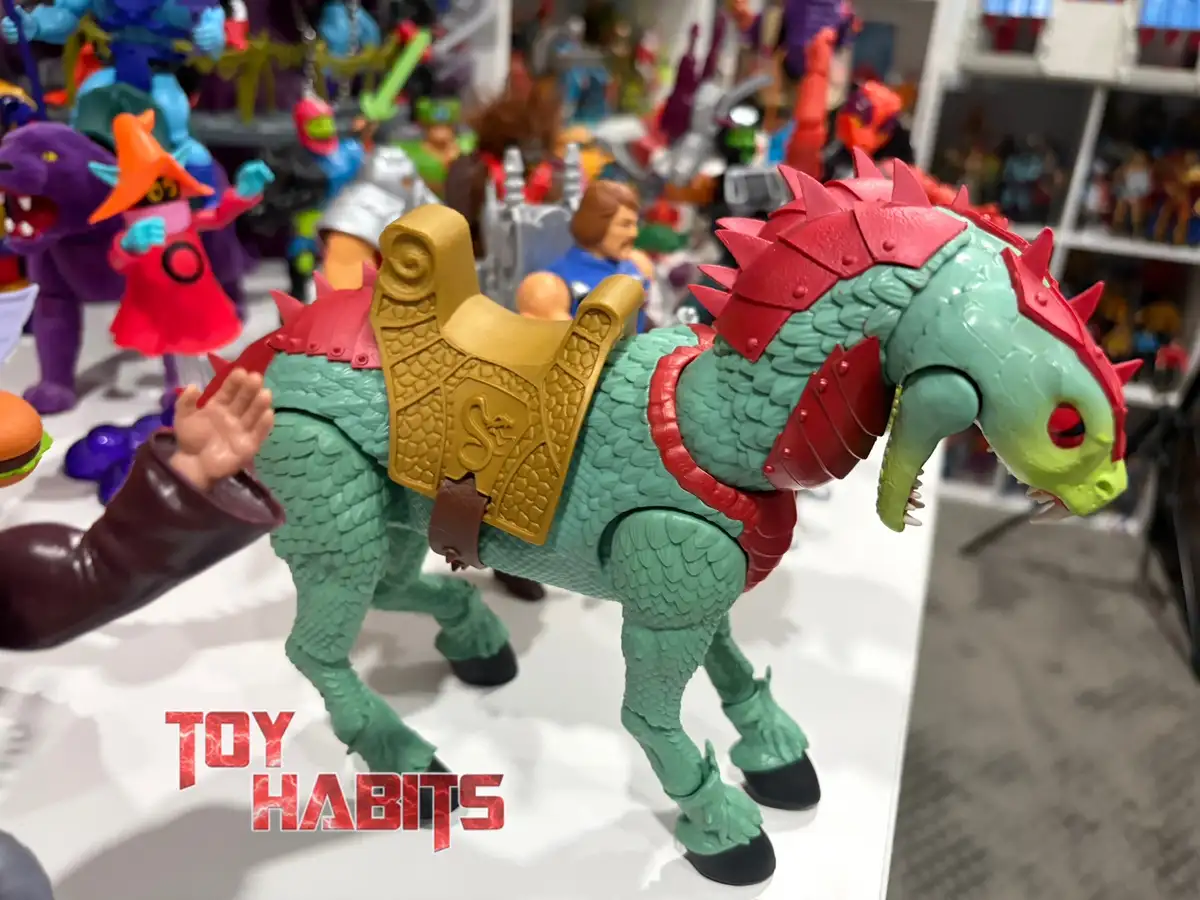
Chimera looks absolutely massive from this angle, and the overlapping scale texture running down each of the four legs carries the same level of sculpted detail as the torso, terminating in clawed, dark hooves that ground the creature nicely. The gold saddle’s serpent crest emblem and the brown leather strap securing it around the barrel add a functional, lived-in quality to the armor, and those bright red spiked plates capping the head create a fierce silhouette against the green hide.
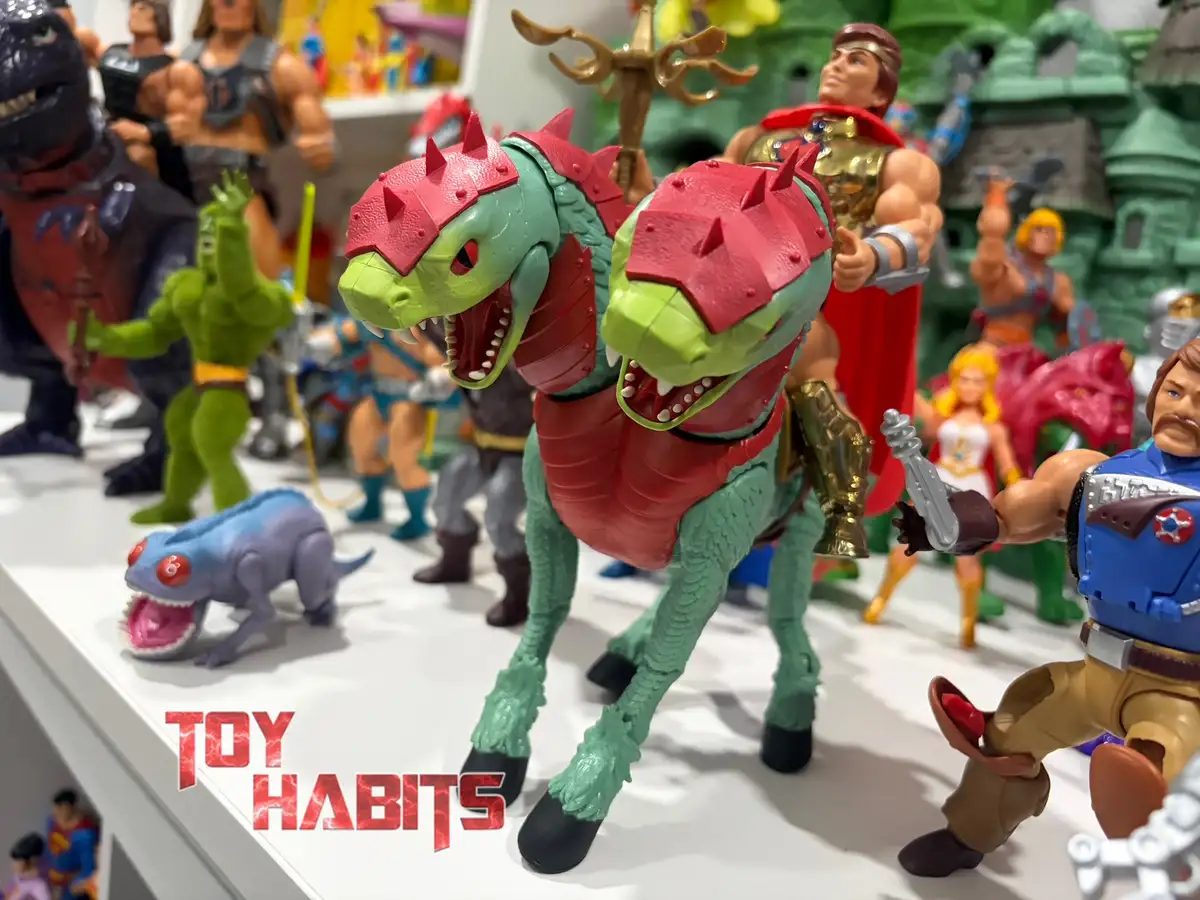
Something I appreciate here is how Chimera’s sea-green scaled body and dual serpent heads fill the foreground with such presence, those individually sculpted teeth lining both open jaws adding a ferocious level of detail to the steed. He-Ro’s gold chest armor and flowing red cape pair beautifully with Chimera’s spiked red saddle armor, and that ornate staff with its green orb finial and sweeping curved crossbar is one of the more impressive accessories I’ve seen in the Origins line.
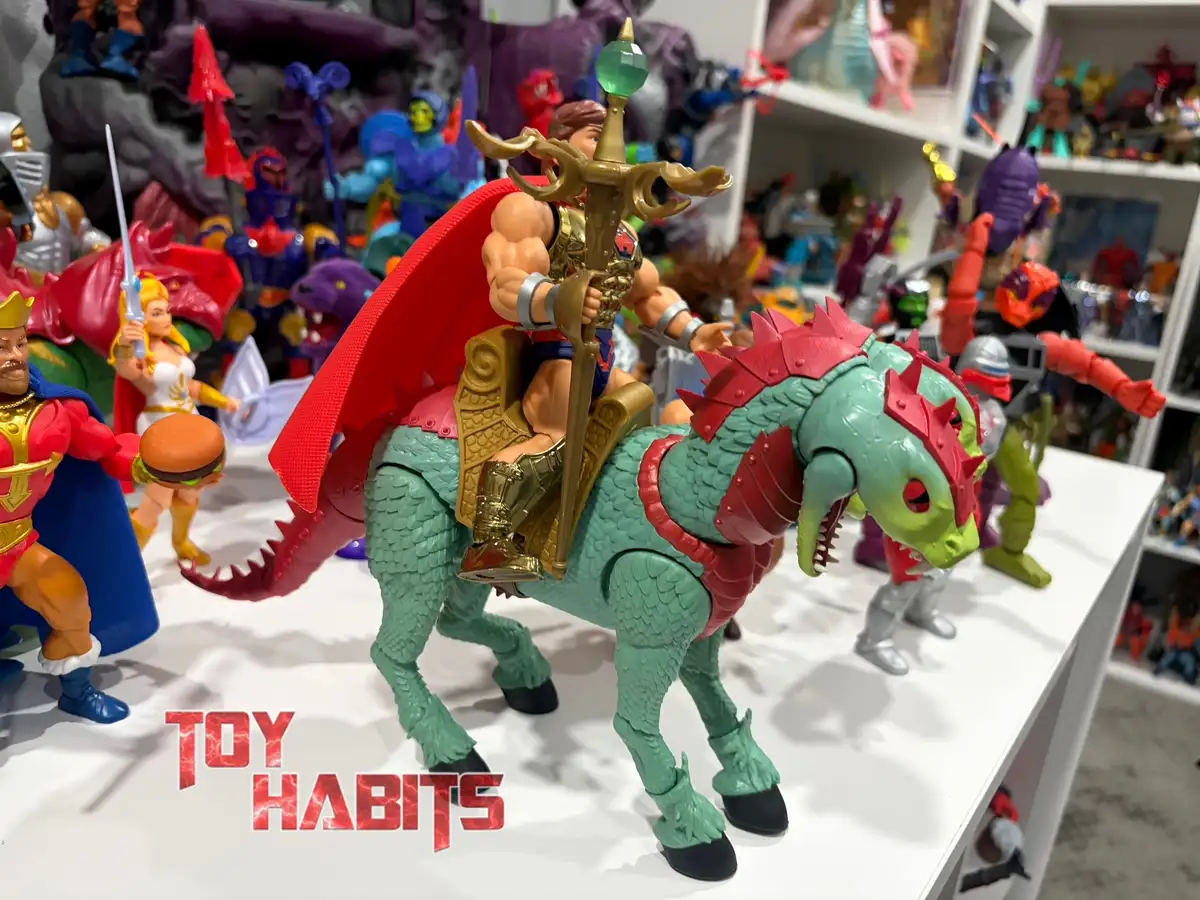
He-Ro looks fantastic mounted atop Chimera here with it’s two heads and stunning green colored skin with red spiked head and chest armor! You can see a great view of the articulated mouths on Chimera’s two heads! And look at all those sharp teeth in their mouths! He-Ro outfitted in his gold chest armor with the iconic red jewel medallion and flowing red cape, while gripping that ornate gold staff with its curved crossbar design. I like how the surrounding Heroic Warriors create such a packed display, with figures like Eldor, King Randor, Rio Blast, and Roboto all filling out the ranks alongside the imposing green bulk of Chimera’s spiked red saddle armor and open-jawed head sculpt.
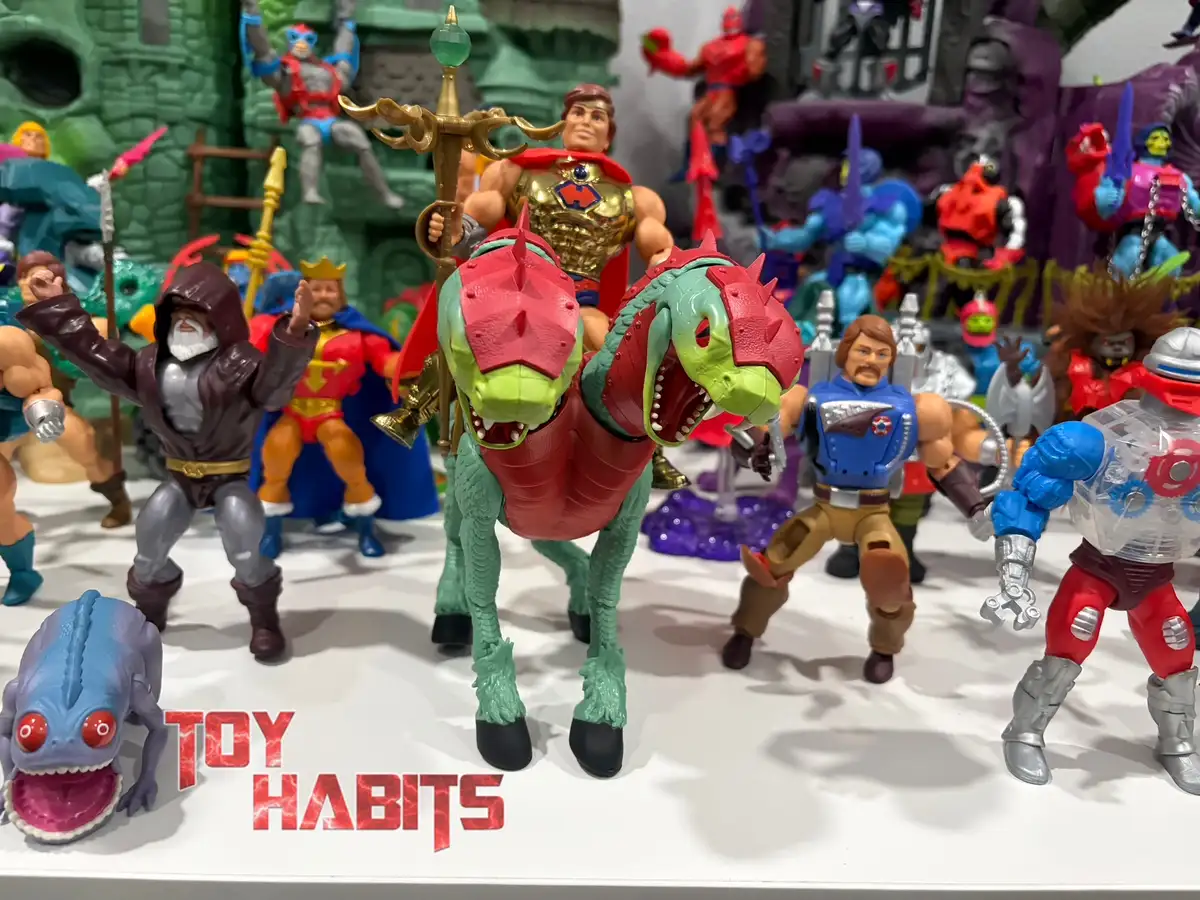
Chimera absolutely dominates the shelf here, both serpent heads lunging forward with jaws wide open, each lined with rows of small white teeth and framed by those spiked red armor plates that cap the crowns of both skulls. I like how the lighter sea-green of Chimera’s legs and the darker teal of her segmented underbelly create a nice tonal shift that separates the limbs from the heavier armored torso sections.
Complete Your MOTU Collection
Be sure to check out our Masters of the Universe shop pages where we’ve curated figures from MOTU Origins, Masterverse, Classics, Vintage and more so you can find the figures you need easier!