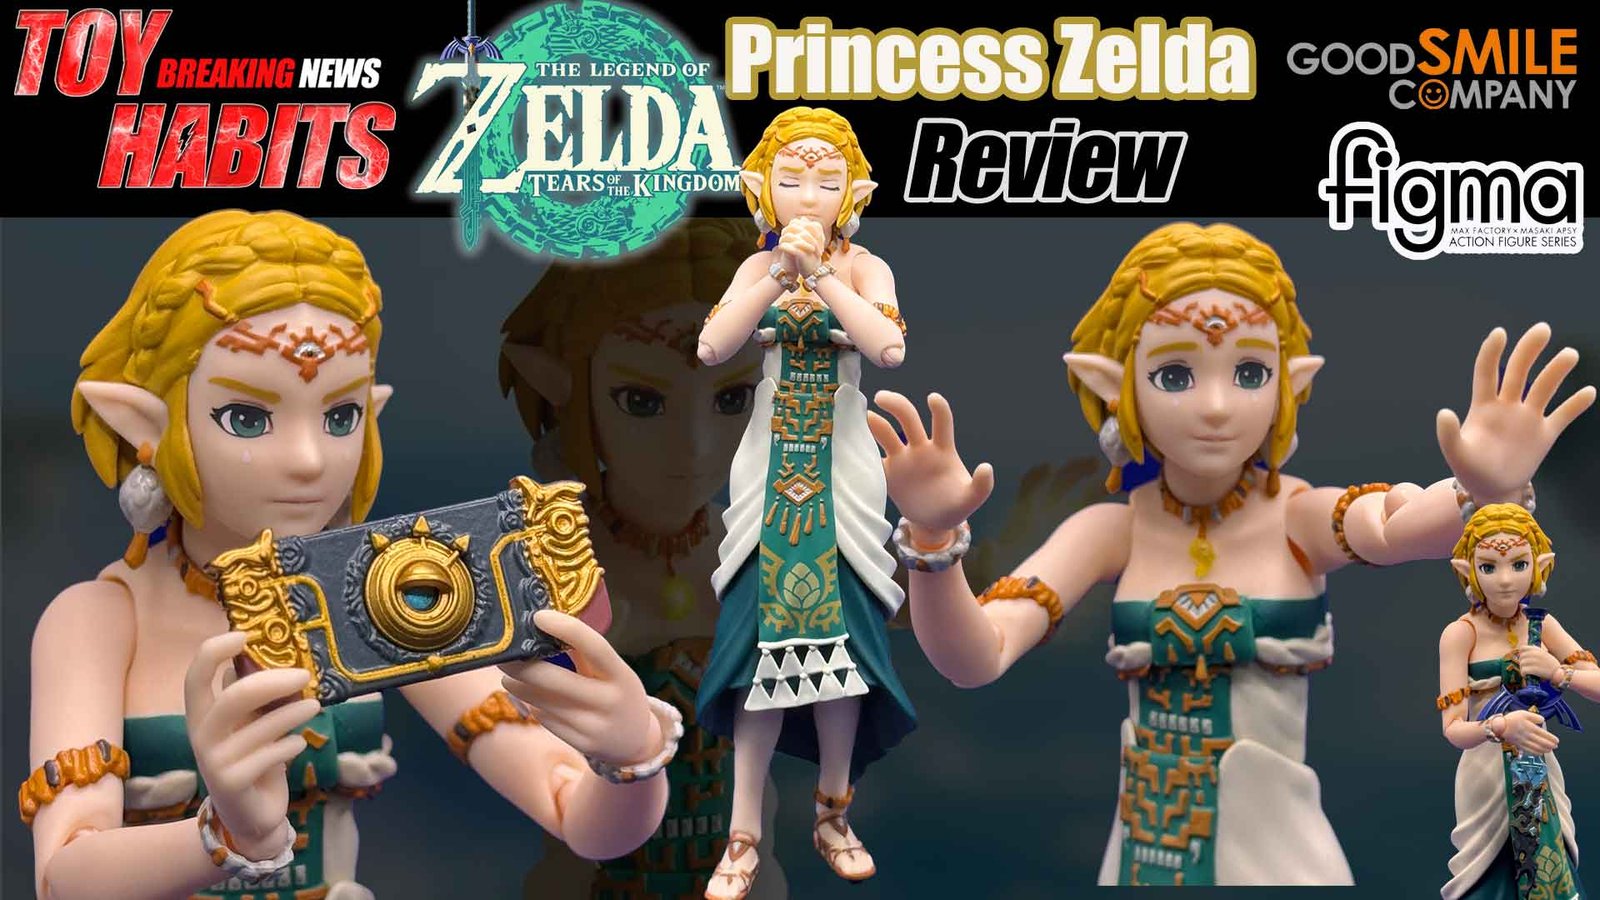
The Legend of Zelda Tears of the Kingdom figma No. 637 Zelda Figure Review
Affiliate links in post. See Disclosure Policy.
I finally got the figma No. 637 Zelda in hand and I am so excited because, I’m not sure that many know this, I have been a fan and collector of the Legend of Zelda franchise since I first played the original Nintendo game. In fact, I own every Nintendo consol and Legend of Zelda game so I can play them as intended! Zelda has always been central to the franchise, but Tears of the Kingdom gave her a more active, story-driven role that made her feel essential in a way the series had been building toward for years. Good Smile and Max Factory clearly understood that, because this figure captures her Tears of the Kingdom design with real precision, from the layered outfit details to the soft, warm color palette that defined her look in the game. The three face plates offer solid range, with the serious expression being my personal pick for display, giving her that quiet determination she carries through the story. The inclusion of the broken Master Sword is a nice narrative touch that ties directly into one of the game’s most important moments, and the Purah Pad rounds out the accessory selection in a way that feels purposeful rather than generic. Articulation is smooth and the joints are well hidden within the sculpt, which is always where figma shines when they get it right. Paired with the figma Link from the same game, this is where everything finally clicks for a Tears of the Kingdom display shelf. Huge thanks to Big Bad Toy Store for sending this figma No. 637 Zelda over for review, and if she has been on your must have list, you can still grab her now at Big Bad Toy Store.
Packaging
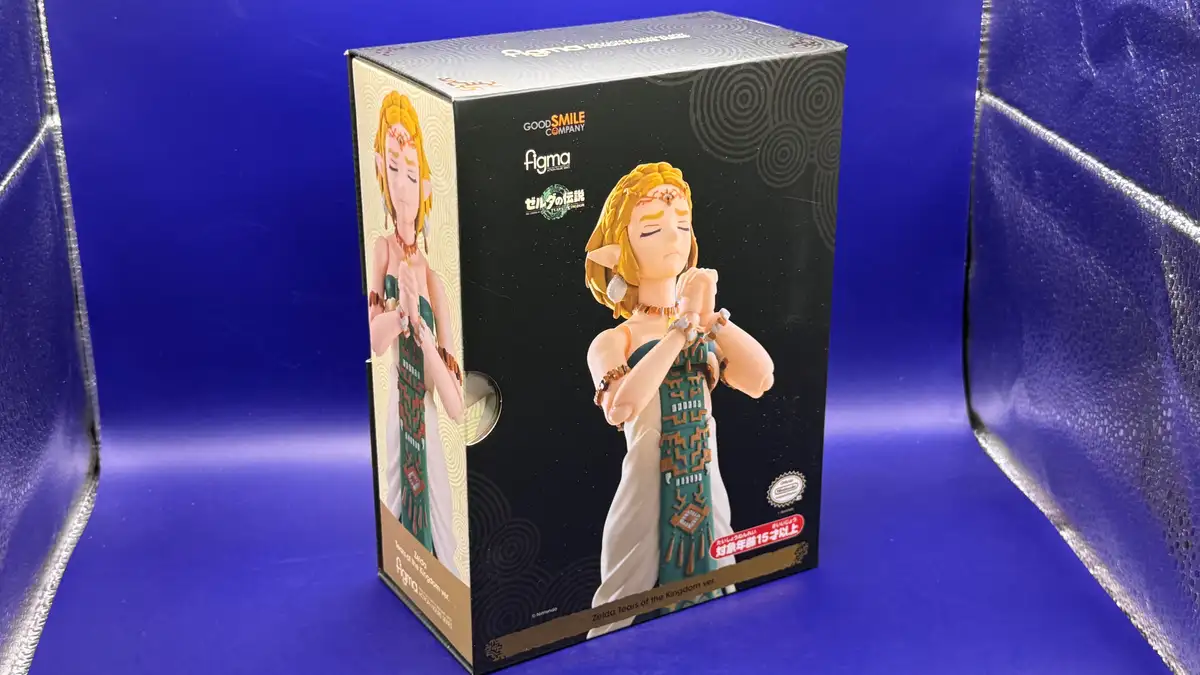
The box features a black front panel with a large photo of Zelda in her white and teal ceremonial dress, her eyes closed and hands clasped together. A slip cover wraps around the packaging, with the side panel showing additional photo of Zelda in the same serene pose against a cream-toned background with subtle Zonai-style patterning.
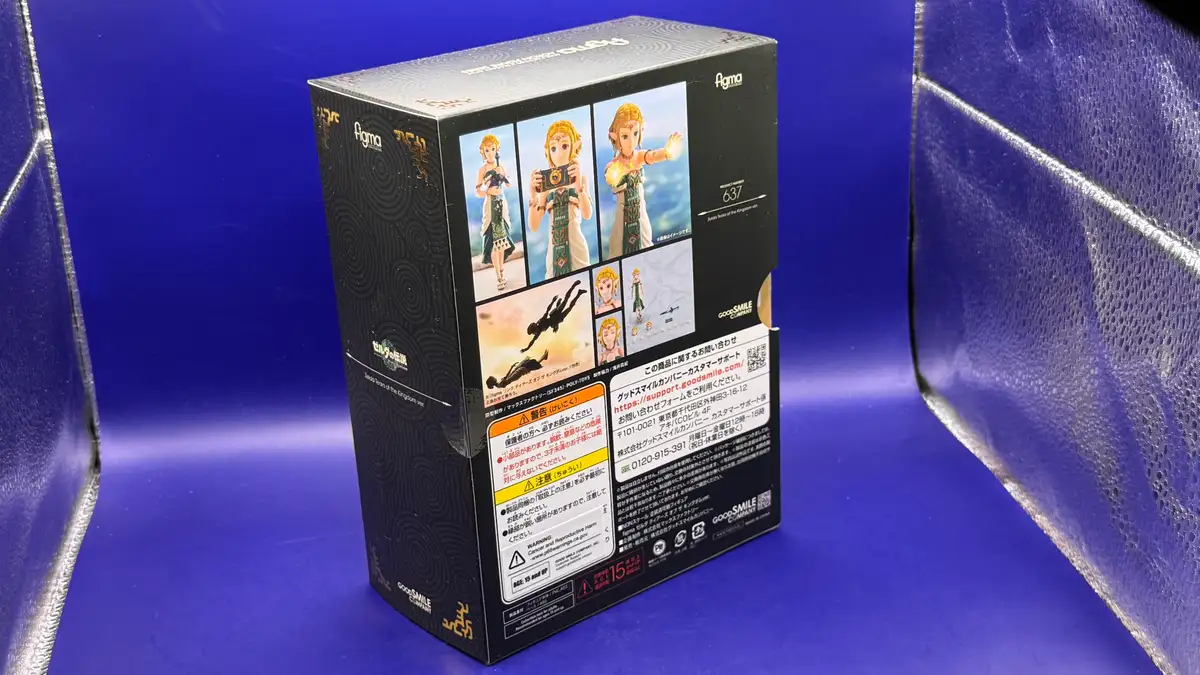
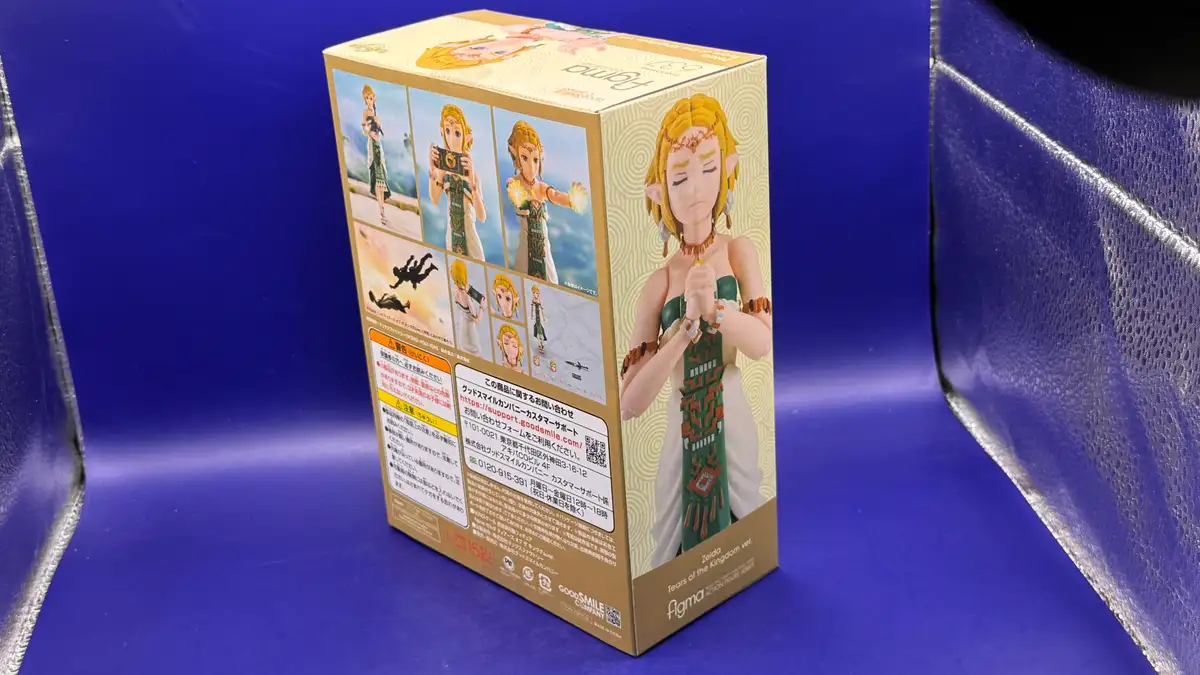
The back of the box displays several photos of Zelda in different poses, including one where she’s holding the Purah Pad and another with the broken Master Sword. I love that there’s a silhouette of Link and Zelda falling through the sky together at the bottom, a nice nod to the Tears of the Kingdom game.
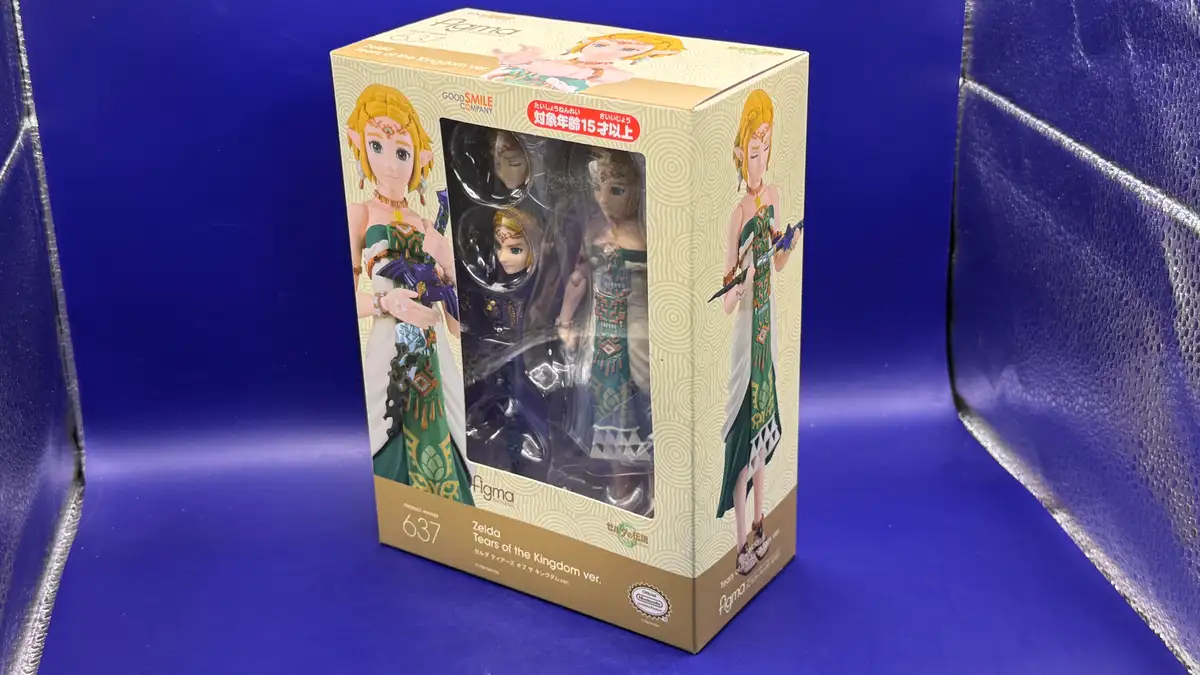
With the slip cover removed, the window box gives a clear look at Zelda nestled inside alongside her accessories, including the broken Master Sword. The side panel artwork shows her holding the decayed blade, with the teal and gold geometric patterning of her dress rendered in clean detail against the cream-colored cardstock.
The back of the inner box carries the same photo layout as the outer slip cover, with the cream-toned panel featuring multiple posed shots of Zelda and the Zonai-inspired geometric patterning. It’s nice to see that the inner packaging holds up on its own as a display piece even without the slip cover.
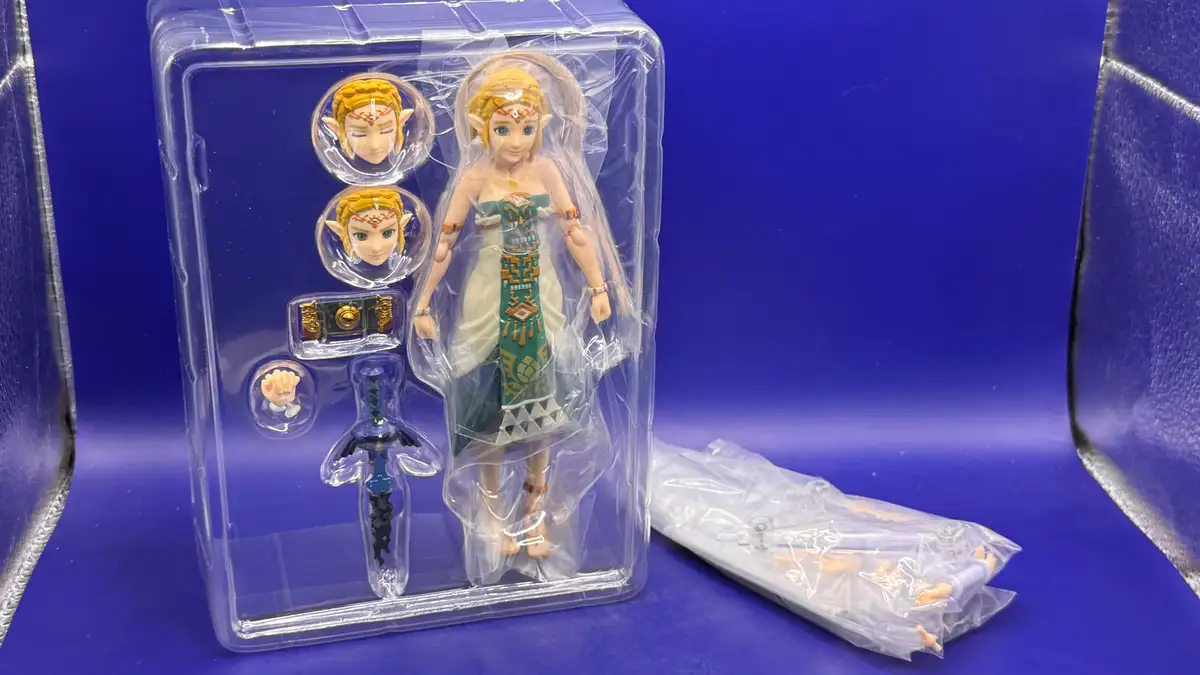
Zelda’s inner tray is loaded with accessories, including three interchangeable face plates, the broken Master Sword, and the Purah Pad tucked in beside her clutching hands. A separate sealed bag sits outside the tray holding the remaining alternate hands and the figma stand.
Zelda comes with a generous selection of nine alternate hands, each sculpted in different gestures ranging from open palms to a pointing finger to a closed grip fitted with a clear peg for holding accessories. Several of the hands feature a small Triforce emblem printed on the back, a detail that’s faithful to her in-game design.
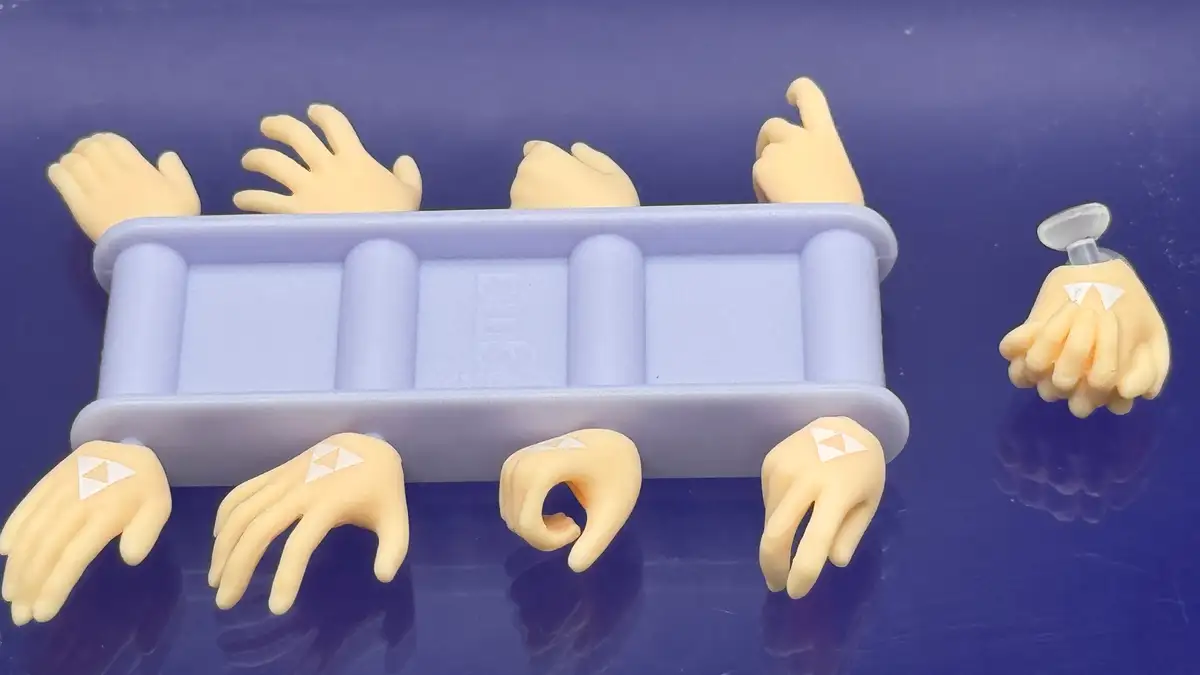
Figure Details
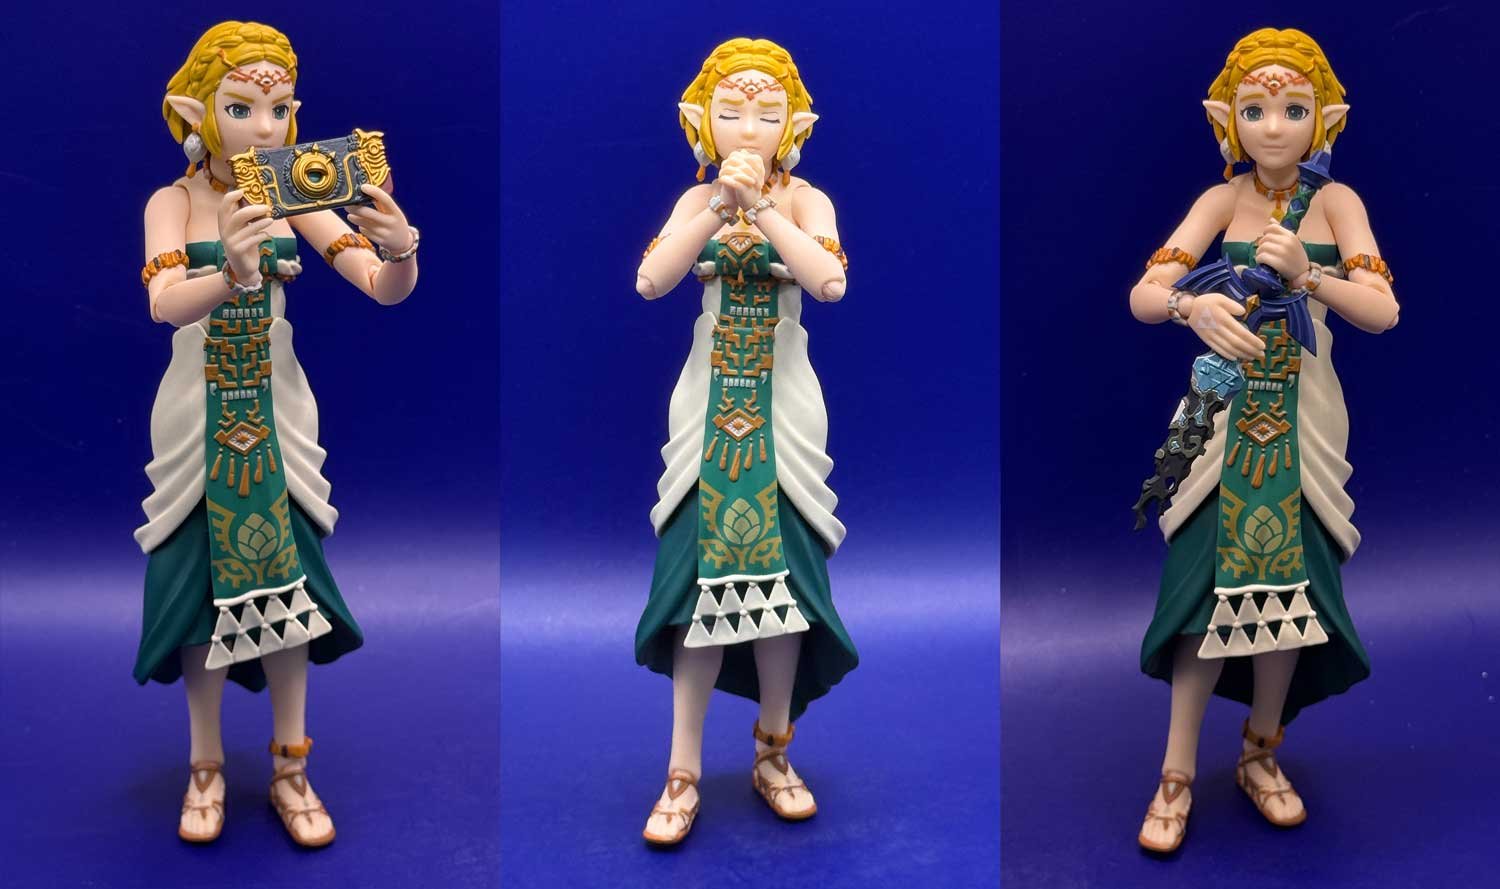
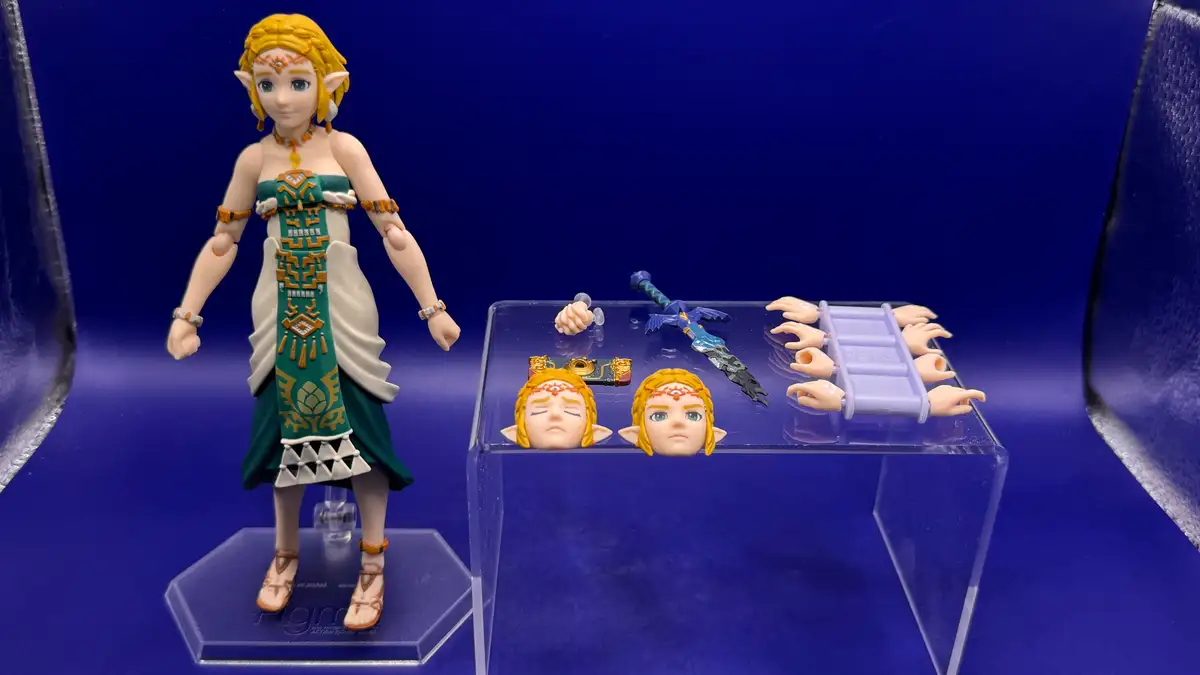
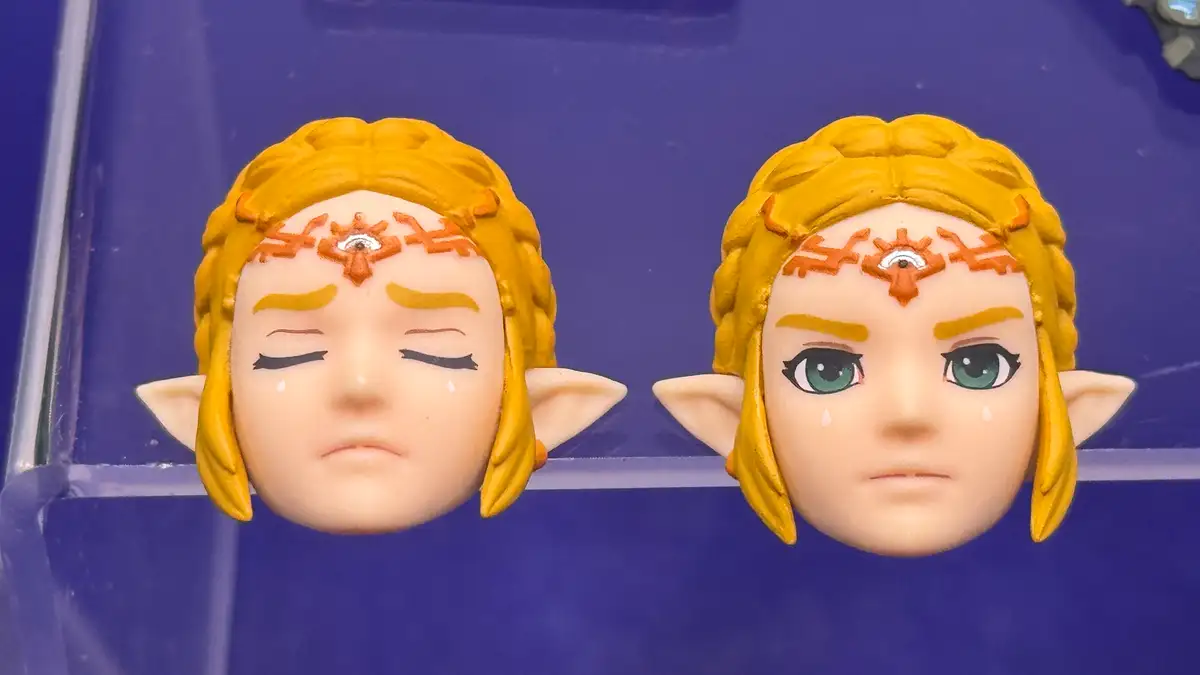
Zelda stands on her clear figma stand alongside her full accessory spread, which includes two alternate face plates, the broken Master Sword, and the Purah Pad displayed on a clear riser. The two spare portraits show a closed-eyes expression with a peaceful look and a serious face with a subtle furrowed brow, both carrying the same golden hair sculpt with her braided crown detail.
A close-up reveals the two alternate face plates side by side, with the closed-eyes expression showing small teardrop details sculpted on her cheeks and the serious face carrying teal-green eyes with a subtle intensity. Both share the same ornate Zonai-style forehead piece with its central eye motif, sculpted in a warm orange that sits nicely against her golden braided hair.
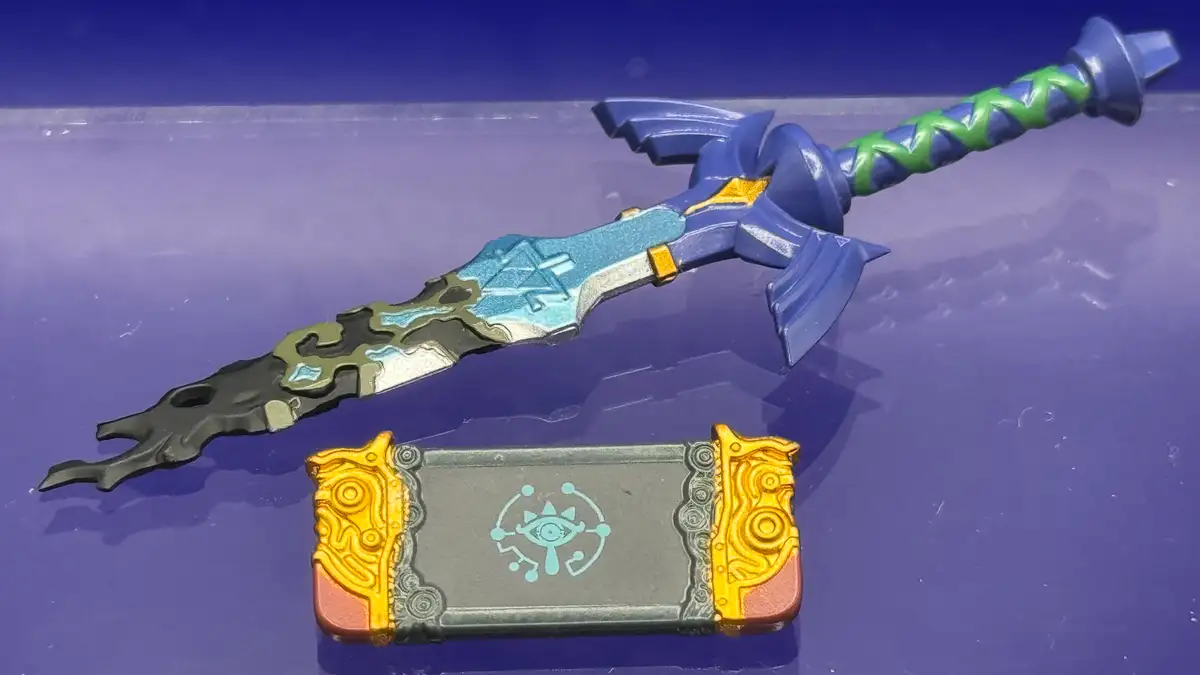
The broken Master Sword features a blue and green wrapped grip with a sculpted crossguard, and the blade transitions from a metallic light blue near the hilt into dark, corroded chunks toward the tip. Below it, the Purah Pad is a compact slab with ornate gold corner accents and a central swirl motif surrounding a small teal eye, with a deep red lower edge adding a nice color contrast.
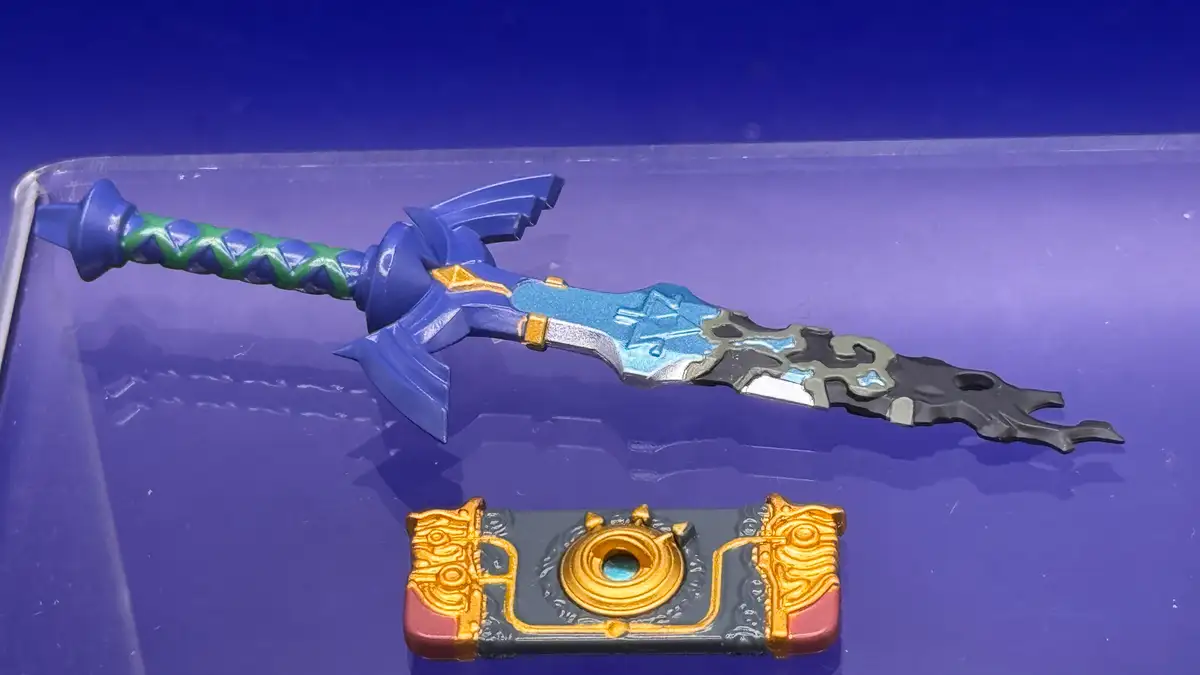
A close-up of the broken Master Sword and Purah Pad gives a better sense of their scale relative to each other. I like how the Triforce emblem is subtly embossed into the blade just above the crossguard, catching the light against the metallic blue finish.
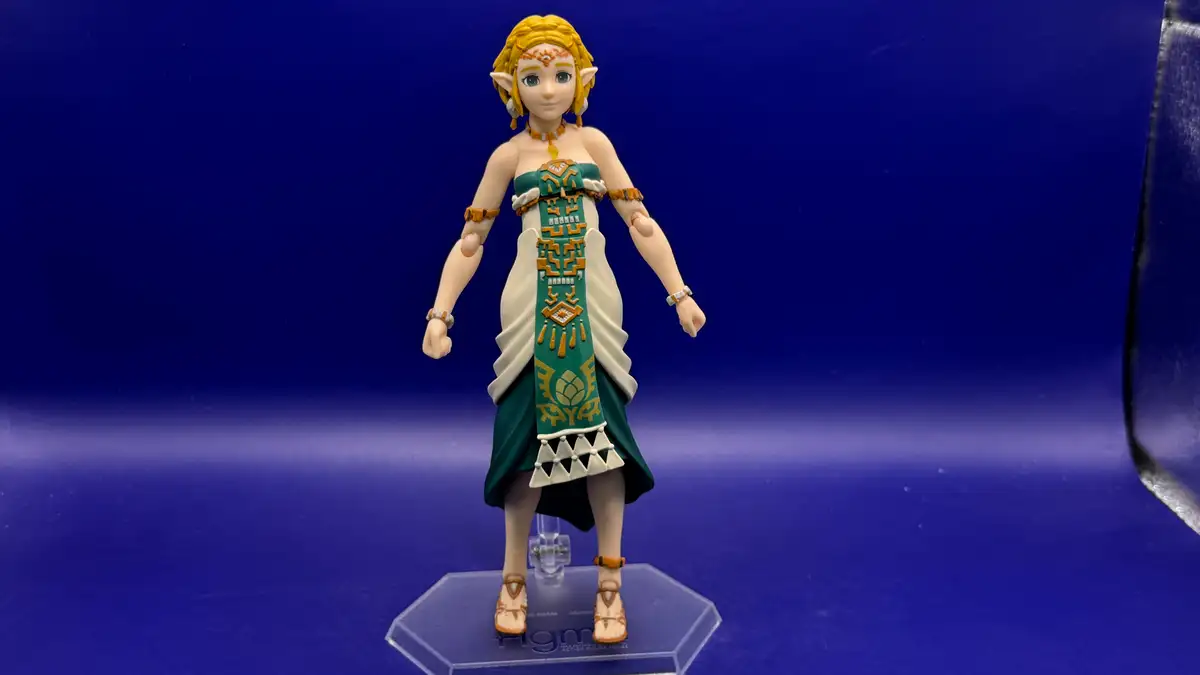
Zelda stands in her full white and teal ceremonial dress, with the layered fabric panels featuring intricate gold Zonai geometric patterns and a triangle-bordered hemline that falls asymmetrically above her sandaled feet. That head sculpt is really solid, and the overall proportions and color choices feel like a faithful translation of her Tears of the Kingdom design.
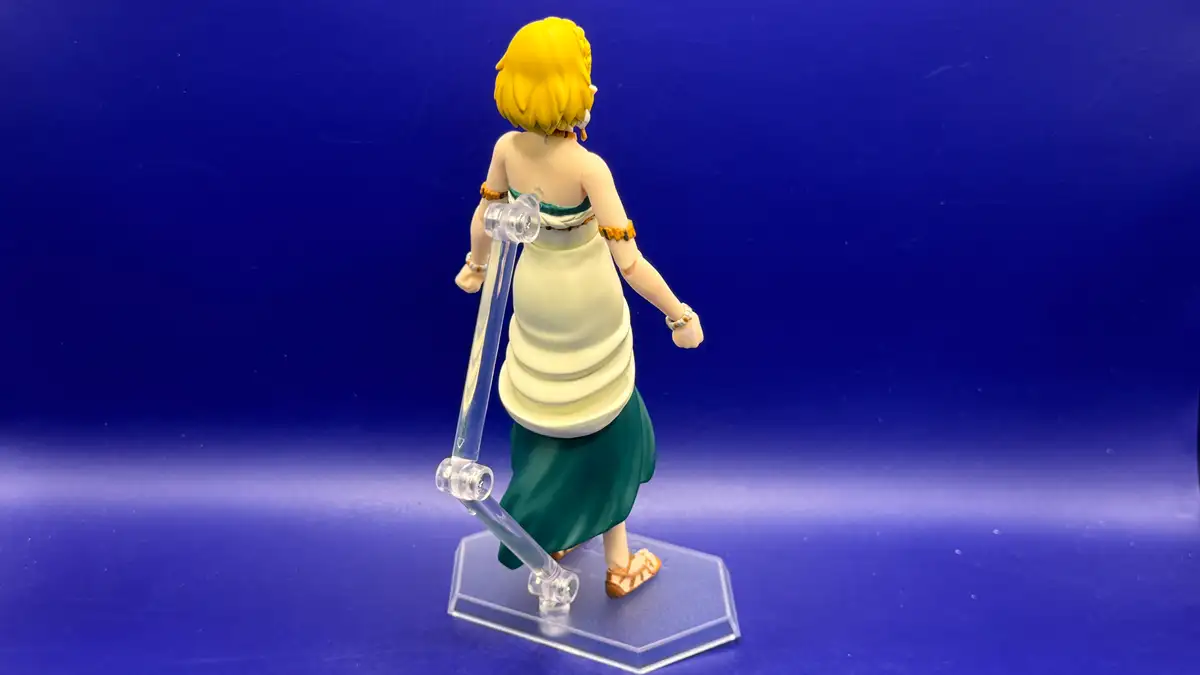
From the back, Zelda’s dress shows a clean separation between the cream-colored upper section and the deep teal skirt, with the green and gold trim of her halter neckline wrapping neatly around her shoulders. The clear figma stand plugs into her lower back, with its articulated arm running down to the hexagonal base, keeping the connection point discreet against the light fabric of the dress.
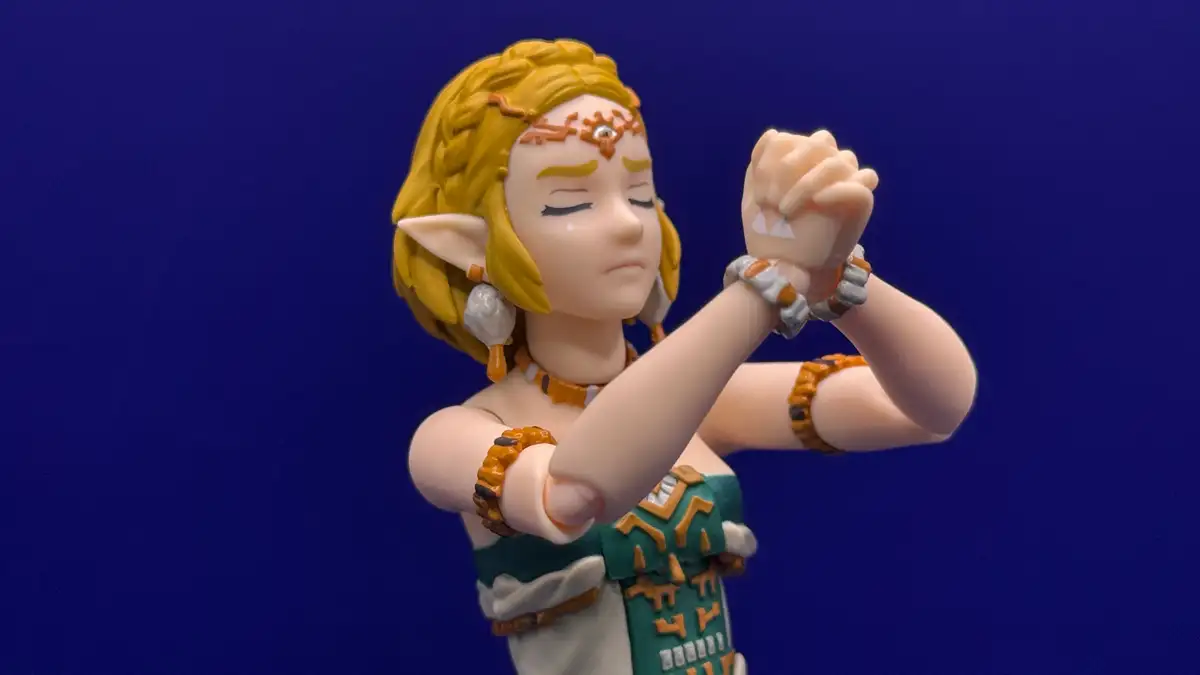
A close-up shows Zelda with her closed-eyes face plate and hands clasped together, the small teardrop details on her cheeks adding a quiet emotional touch to the sculpt. Her gold bicep bands and wrist cuffs are decorated with Zonai-inspired geometric segments, and the matching orange-toned beadwork ties in nicely with her forehead ornament.
Zelda’s open-hand accessories get a nice showcase here, with the splayed fingers showing off the small Triforce emblem printed on the back of each hand. Her golden hair has a neatly sculpted side braid running along the back, with a small orange ornament pinned just above her pointed ear.

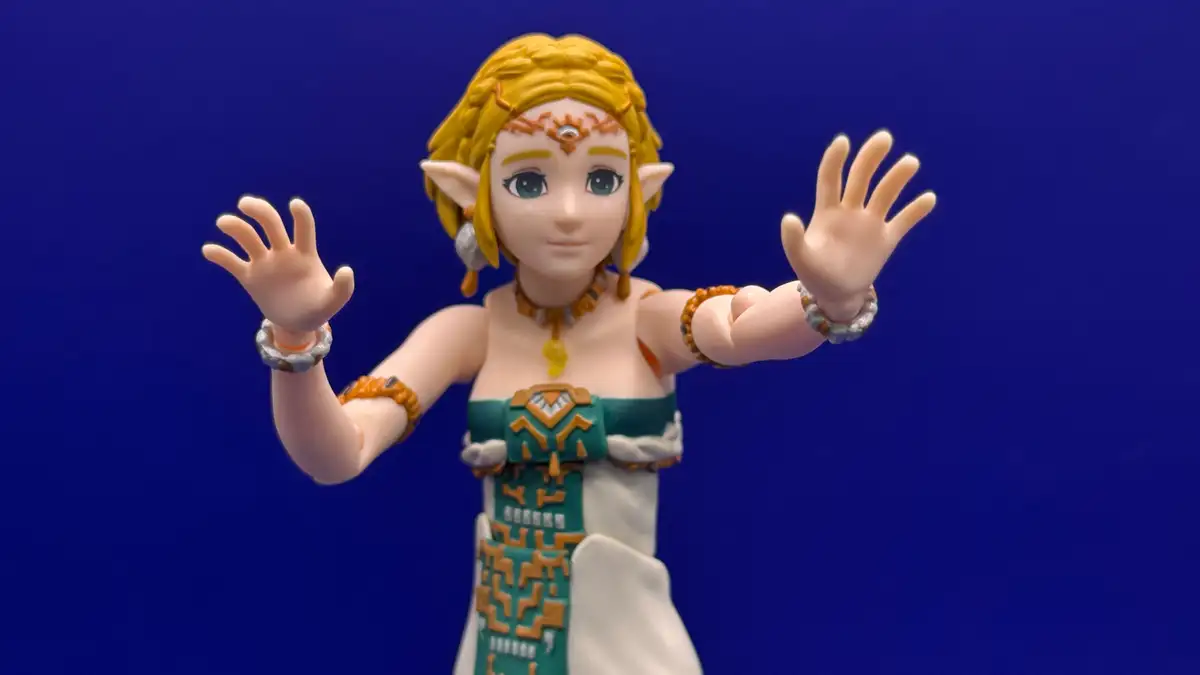
Zelda is posed with both hands open and fingers spread wide, showing off the splayed-finger hand sculpts and the small bracelets on each wrist. Something I appreciate here is the reminder that those bracelets slip off when swapping hands, so collectors will want to keep an eye on them during accessory changes.
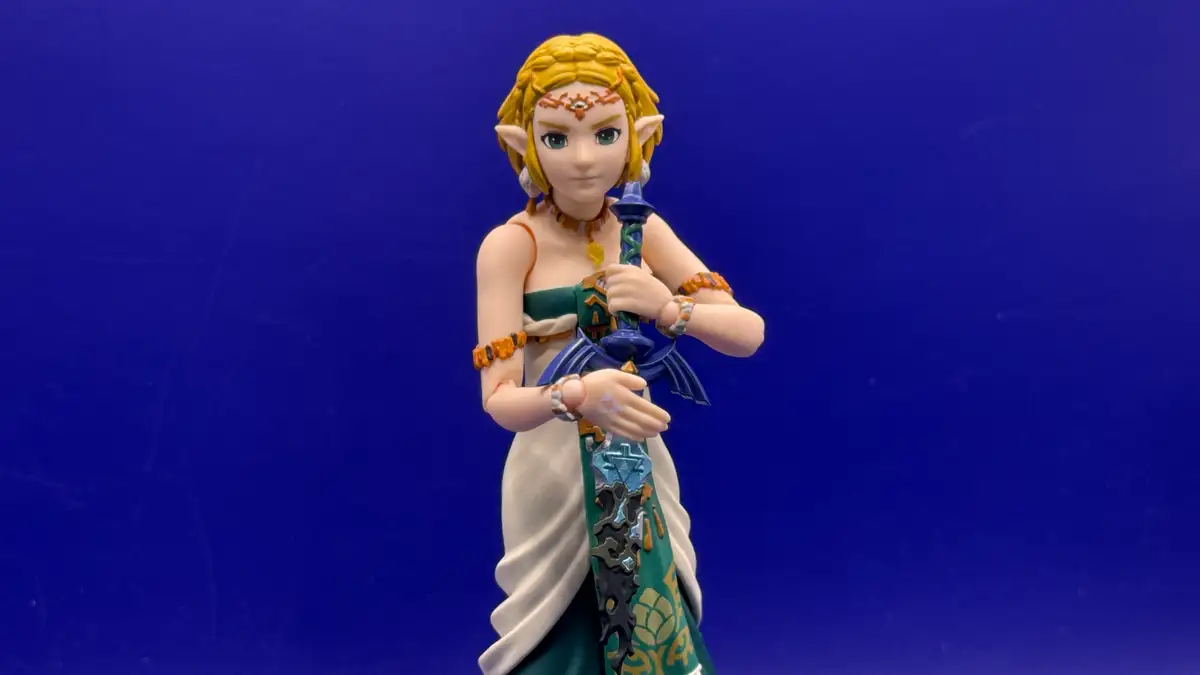
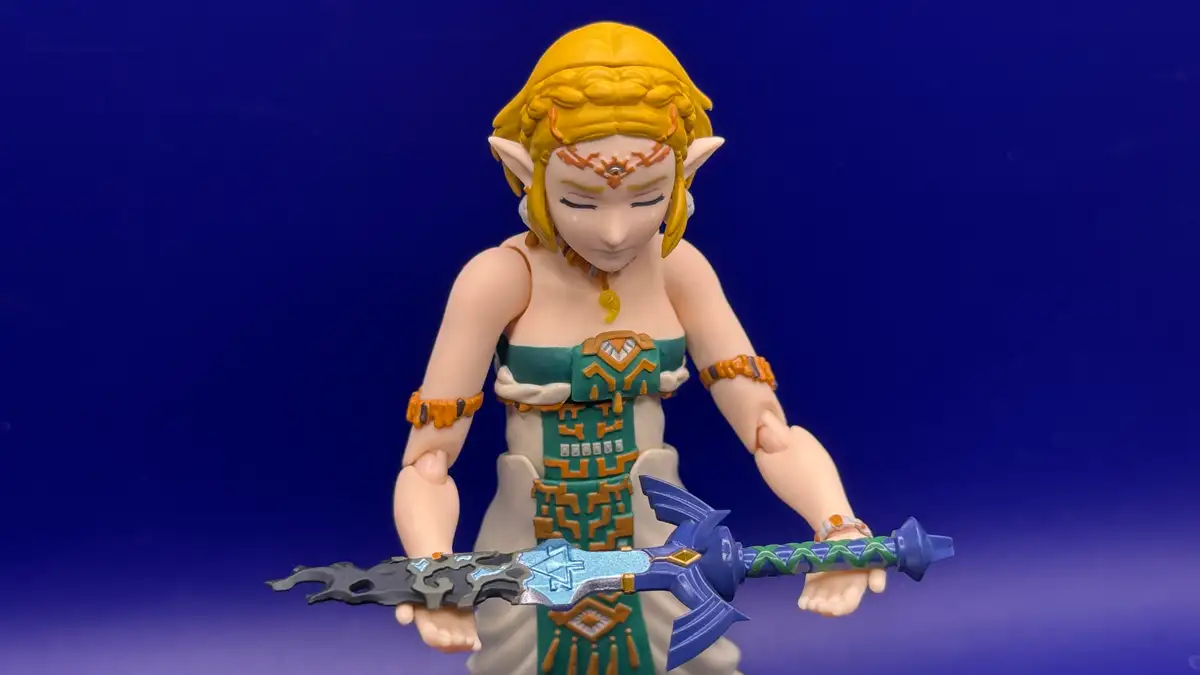
Zelda is posed holding the broken Master Sword close to her chest, with her standard face plate showing her teal-green eyes and a soft, determined expression. The translucent blue plastic on the sword’s hilt catches the light nicely against the warm tones of her skin and the orange beadwork on her wrists.
Zelda holds the broken Master Sword across both hands, and the corroded, jagged edge of the blade shows nicely sculpted irregular chunks of dark gray plastic that contrast sharply with the metallic blue section closer to the hilt. Her eyes are closed with a serene expression, and the green zigzag pattern wrapping the sword’s grip picks up the teal tones of her dress in a way that ties the whole look together.
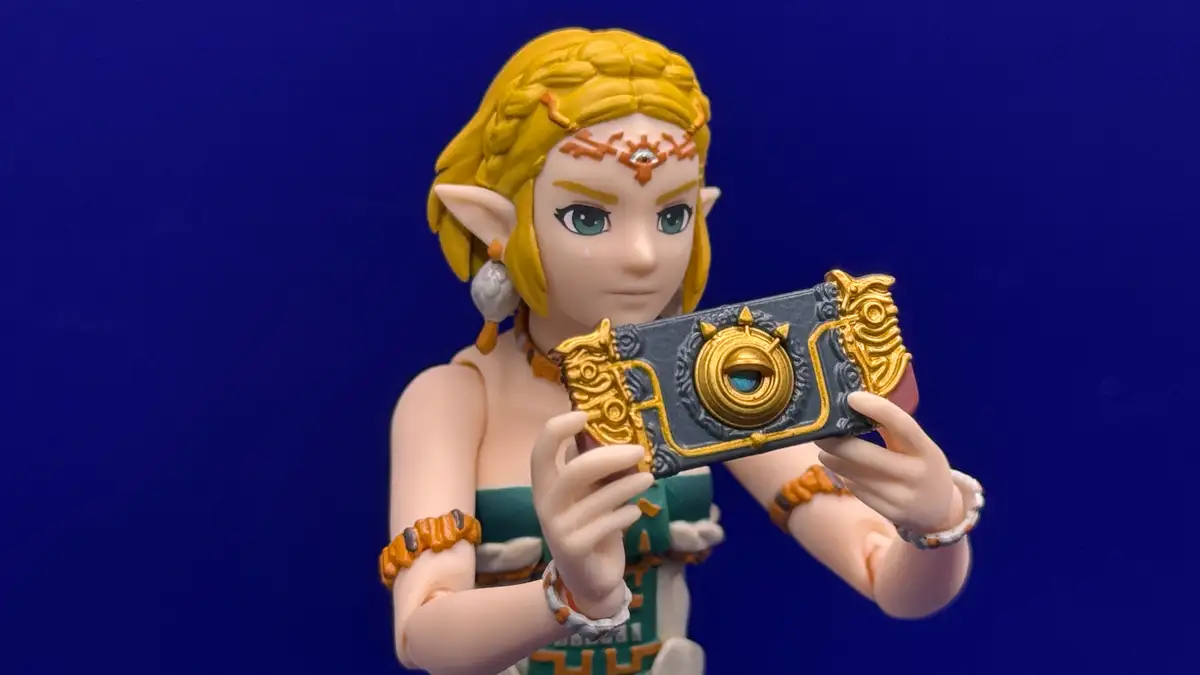
Zelda is posed holding the Purah Pad out in front of her, with the ornate gold corner accents and central swirl motif of the tablet getting a nice showing at this closer range. Her standard face plate and teal-green eyes peer just above the accessory, and the gold bracelets and beaded arm cuffs frame the hands gripping each side of the pad.
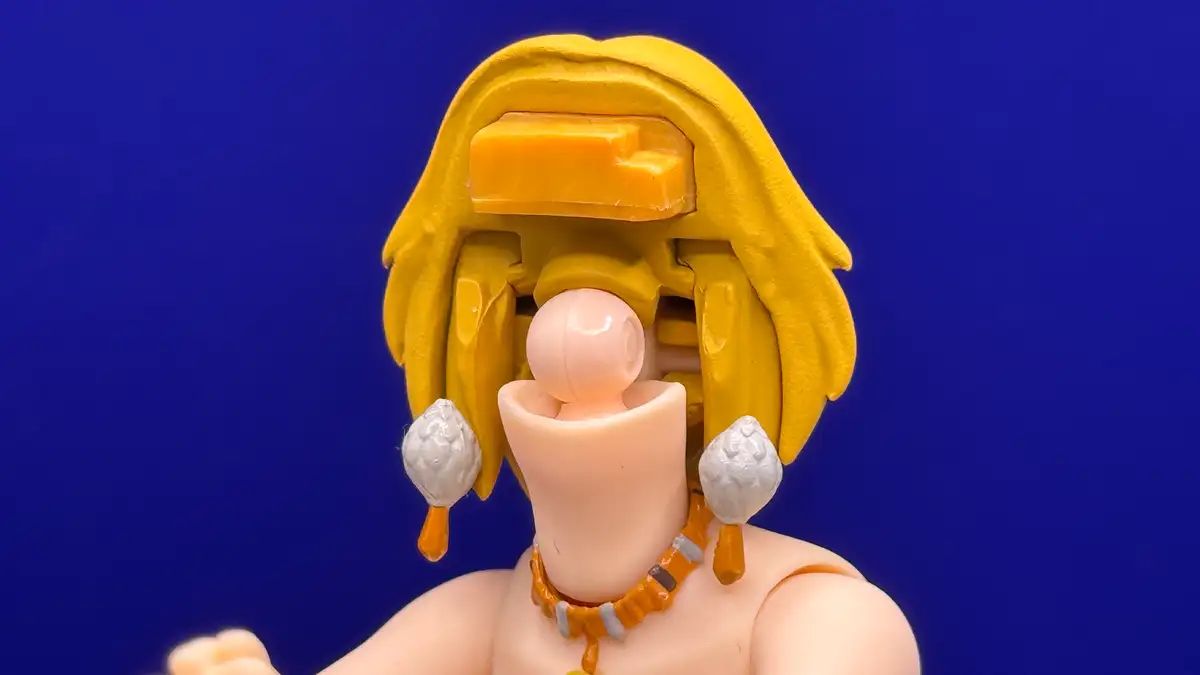
A close-up of the back of Zelda’s head shows how the face plate pops off cleanly, with the ball joint peg sitting flush against the interior of the hair sculpt. The pressure-mounted system means swapping expressions is quick and straightforward.